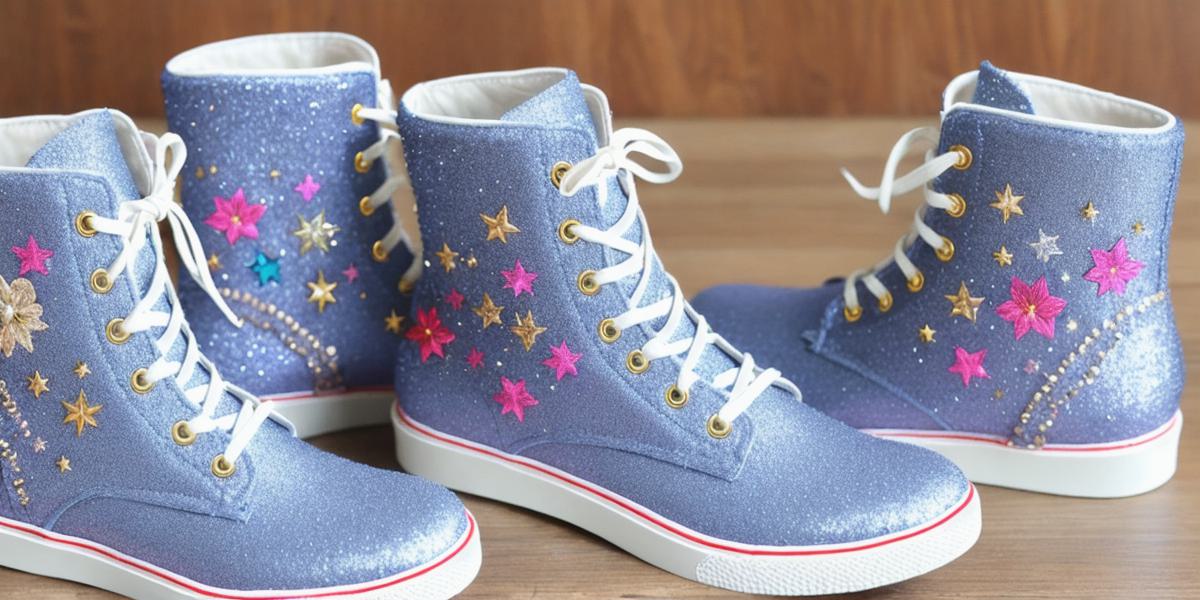
How to Make Sailor Moon Boots: A Step-by-Step Guide
If you’re a fan of the classic anime series, Sailor Moon, then you’ve probably dreamed of having a pair of her iconic sailor moon boots.
But did you know that making your own pair is easier than you think?
In this article, we will guide you through the process of creating your very own sailor moon boots.
Before you get started, it’s important to note that you will need some basic sewing skills. If you’re new to sewing, I would recommend starting with a simple project and practicing your stitches before moving on to more complex projects like boots.
Materials Needed
Here are the materials you’ll need to make your own sailor moon boots:
- Fabric (preferably white or black)
-
Fabric scissors
-
Measuring tape
-
Pencil
- Sewing needle and thread
-
Boot cuffs
-
Boot linings
- Boot soles
-
Leather belt buckle (optional)
How to Make Your Own Sailor Moon Boots
Step 1: Choose Your Fabric
The first step is to choose your fabric. You can use white or black fabric, but keep in mind that white fabric will show more dirt and scuffs than black. If you want to add a pop of color, you can also use a different shade of pink or purple for the sole.
Step 2: Measure and Cut Your Fabric
Next, measure your feet and cut two pieces of fabric that are about 18 inches long and 6 inches wide. You’ll need to trim off any excess fabric around the edges.
Step 3:
Sew the Boot Linings
Before you start sewing the main part of the boot, you’ll need to attach the linings. Fold your fabric in half lengthwise and sew the short ends together to create a tube. Then, turn the tube right side out and sew the top edge to the bottom of the lining.
Step 4: Sew the Boot Cuffs
The next step is to sew the boot cuffs onto the main part of the boot. Fold your fabric in half lengthwise and sew the short ends together, leaving about an inch at the top. Then, turn the tube right side out and sew the bottom edge to the cuff. Repeat this process for the other cuff.
Step 5:
Sew the Boot Soles
Now it’s time to add the soles to your boots. Cut two pieces of boot soles that are about 1 inch wider than the top of your boot cuffs. Then, attach the soles to the bottom of your boot linings using a sewing needle and thread.
Step 6: Attach the Boot Linings to the Boot Cuffs
Next, you’ll need to sew the boot linings onto the boot cuffs. Fold the lining up so that it covers the top of the cuff and sew it in place. Repeat this process for both boots.
Step 7: Add a Leather Belt Buckle (Optional)
If you want to add a leather belt buckle to your boots, cut one out of brown or black leather and sew it onto the front of your boots using a sewing needle and thread.
Final Thoughts
And there you have it! With these simple steps, you can create your very own sailor moon boots. Remember, practice makes perfect, so don’t be discouraged if your first pair doesn’t turn out perfectly. Keep trying, and soon enough you’ll have a pair of boots that will make you feel like a true Sailor Moon fan.