how to make rawhide
the right tools and techniques, it can be a rewarding experience. Rawhide is a durable, waterproof, and lightweight material that has been used for centuries for various purposes such as clothing, footwear, bags, and belts. In this guide, we will take you through the process of making rawhide from scratch, step by step. We will cover everything from selecting the right hide to preparing it for tanning.
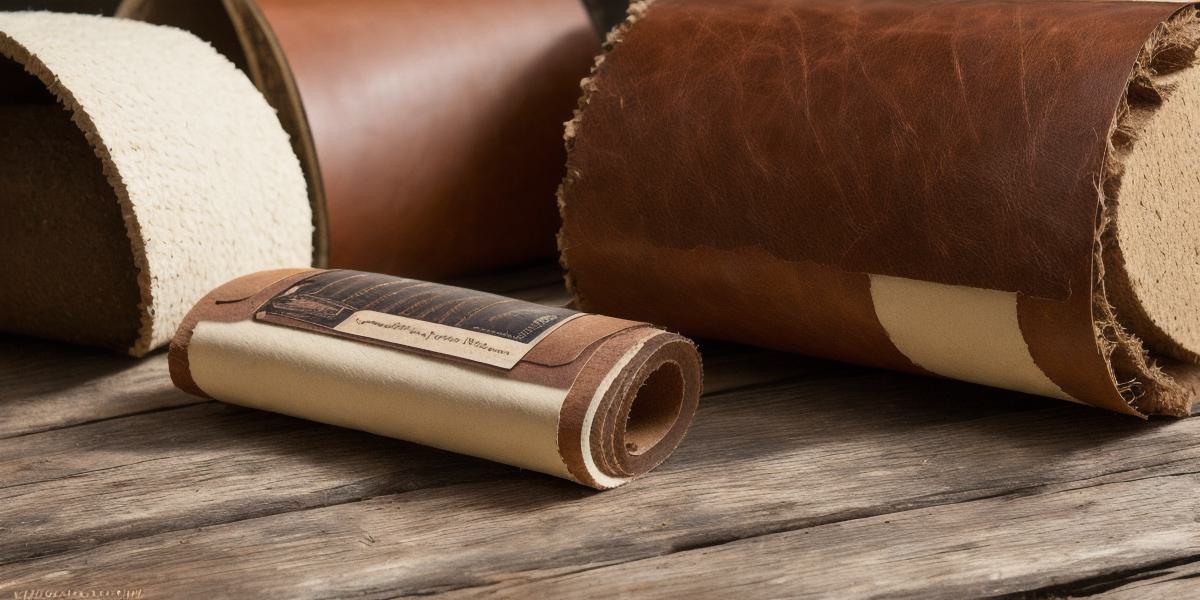
Selecting the Right Hide
When choosing a hide, consider the following factors:
- Leather grain: Look for a hide with a smooth, consistent grain. Grain refers to the texture and pattern of the leather’s surface. A good grain will make your rawhide more durable and less prone to cracking or tearing.
- Thickness: Rawhide should be thick enough to provide adequate protection and support but not so thick that it becomes unwieldy or uncomfortable.
- Colour: Choose a hide that complements the purpose for which you plan to use your rawhide. For example, if you are making a belt, choose a hide that matches your pants or shoes.
Preparing the Hide
Once you have selected your hide, it’s time to prepare it for tanning.
Here are the steps to follow:
- Clean and scrape the hide: Remove any dirt, debris, or hair from the hide using a brush, knife, or razor blade. Scrape off any loose material, such as scars or blemishes, using a sharp knife.
- Soak the hide in water: Place the hide in a large bucket filled with warm water and let it soak for several hours or overnight. This will help to loosen the hair and soften the leather.
- Flesh out the hide: Use a knife or razor blade to remove the flesh from the back of the hide, leaving only the skin. Be careful not to cut too deep, as you don’t want to damage the hide’s surface.
- Remove the lime: If your hide was prepared using lime, soak it in water for several hours or overnight to remove the lime residue. This will help to prevent staining and discoloration.
- Stretch and dry the hide: Stretch the hide over a frame or board to help it dry evenly. Allow it to dry slowly and thoroughly, avoiding direct sunlight or heat sources that could cause the leather to crack or warp.
Tanning the Hide
Once your hide is ready, it’s time to tan it. Tanning is the process of treating the leather with chemicals to make it more durable and waterproof.
Here are the steps to follow:
- Prepare the tanning solution: Choose a tanning solution that is appropriate for your hide type and desired finish. There are several different types of tanning solutions available, including vegetable tannins, chromium tannins, and synthetic tannins.
- Apply the tanning solution: Apply the tanning solution to the leather using a brush or cloth, starting at the edges and working your way inwards. Be sure to wear gloves and protective eyewear to avoid contact with the chemicals.
- Allow the leather to dry: Allow the leather to dry slowly and evenly, avoiding direct sunlight or heat sources that could cause it to crack or warp. This may take several days depending on the thickness of the hide and the type of tanning solution used.
- Finish the leather: Once the leather is completely dry, polish and buff it to achieve a smooth, shiny finish. You can also dye the leather at this stage to achieve your desired color.