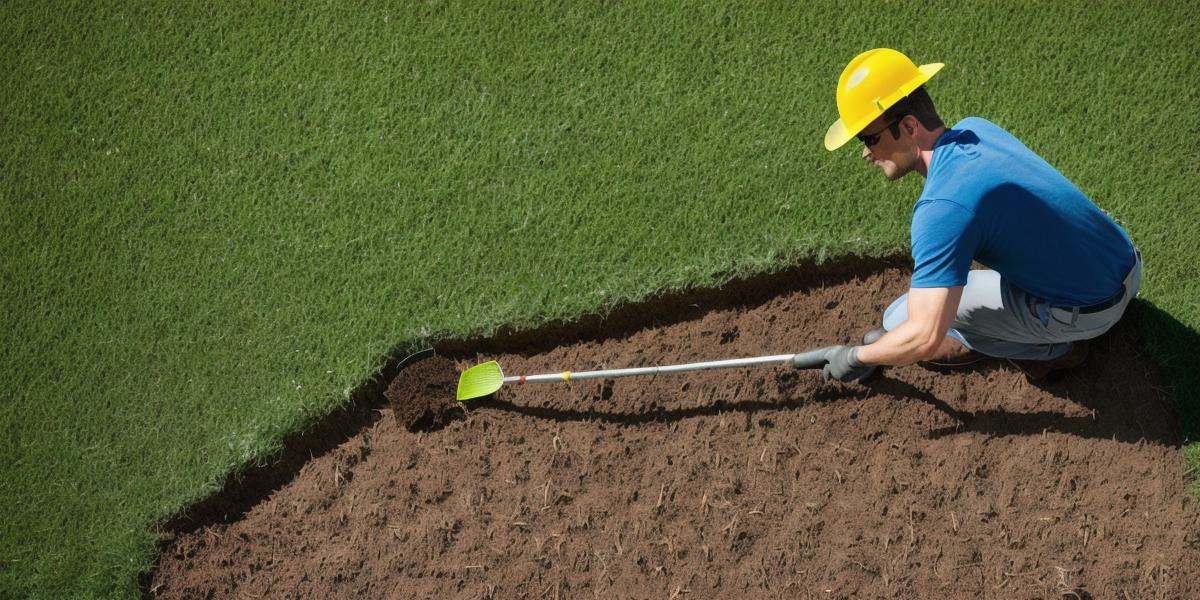
The Ultimate Guide to Preparing Your Lawn for Hydroseeding
Introduction:
Hydroseeding is a great way to quickly and effectively establish new grass on your lawn or garden. However, before you can start the process, you need to make sure that your area is properly prepared. This guide will walk you through the steps you need to take to get your lawn ready for hydroseeding, as well as some tips and tricks along the way.
Step 1: Clean Up the Area
The first step in preparing your lawn for hydroseeding is to clean up the area. This means removing any debris or dead grass that may be on the ground. It’s important to make sure that the area is clear of any obstacles so that the seeds can be evenly distributed. Additionally, you should make sure that the area is free of weeds as well.
Step 2: Aerate the Lawn
Before hydroseeding, it’s important to aerate your lawn. This is because the hydroseeding process involves spreading seeds over the ground in a thin layer, and aeration helps to ensure that the seeds are able to reach the soil and germinate properly. You can use a manual aerator or a lawn spike aerator for this task.
Step 3: Fertilize the Lawn
Fertilizing your lawn is also important before hydroseeding. This will help to ensure that the new grass has all of the nutrients it needs to grow and thrive. You can use a slow-release fertilizer or a liquid fertilizer, depending on your preference. It’s important to follow the instructions carefully and not over-fertilize, as this can harm the grass.
Step 4: Seed the Lawn
Now that your lawn is prepared, it’s time to seed it! You’ll want to use high-quality seeds that are specifically designed for your region and climate. It’s important to follow the instructions carefully and not overseed, as this can lead to wasted resources and a thick, weedy lawn.
Step 5: Water the Lawn
After you’ve seeded your lawn, it’s important to water it thoroughly. This will help the seeds to germinate and establish themselves in the soil. You may need to water several times a day or even once a day depending on the weather conditions. Make sure to keep an eye on the moisture levels and adjust the watering schedule as needed.
Tips and Tricks:
- Be patient! Hydroseeding can take anywhere from 2-4 weeks for the grass to fully germinate, so it’s important to be patient and not get discouraged if you don’t see immediate results.
- Use a high-quality lawn roller or hydroseed spreader to ensure that the seeds are evenly distributed across the area.
- Make sure to follow all of the instructions carefully and avoid overdoing it, as this can lead to wasted resources and a thick, weedy lawn.
- If you live in an area with high winds, consider using windbreaks or other measures to protect your seeds from blowing away.
FAQs:
* Can I hydroseed in the summer?
No, it’s best to hydroseed in the fall or spring when the weather is cooler and there are fewer chances of extreme heat or drought.
* How long does hydroseeding take?
It can take anywhere from 2-4 weeks for the grass to fully germinate and establish itself.
*
Can I hydroseed over existing grass?
No, it’s best to remove the existing grass before hydroseeding to ensure that the new grass has the best chance of success.
