How to Prepare Soil for Hydroseeding: A Step-by-Step Guide
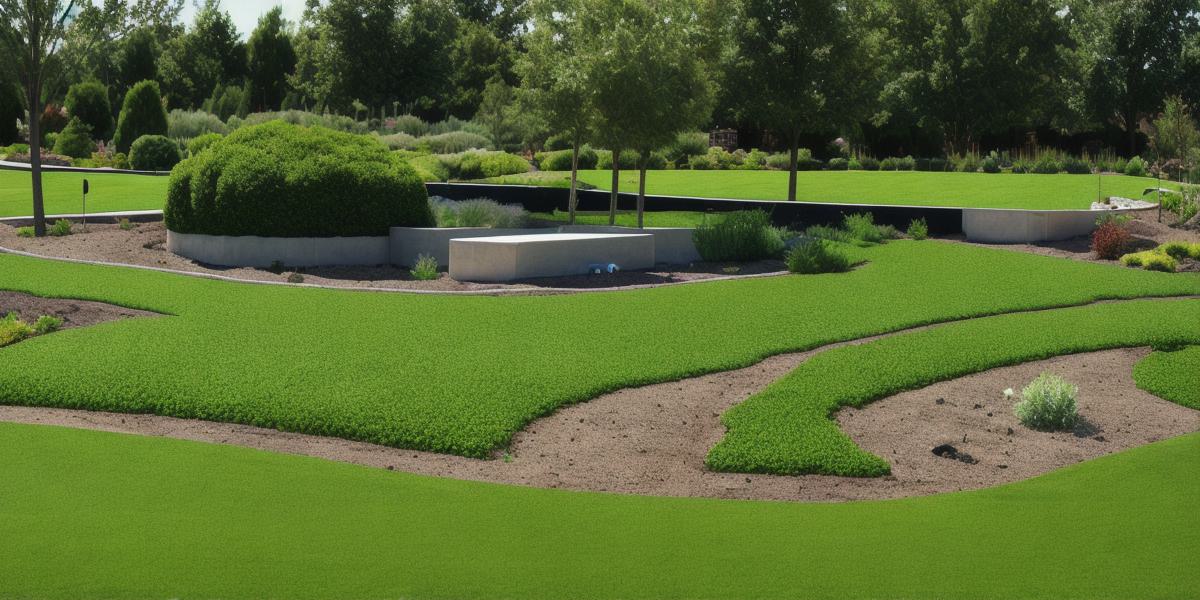
Hydroseeding is a popular method of planting and growing grasses, shrubs, and trees. It involves spreading seeds over a prepared surface, which can be soil or an artificial substrate. However, preparing the soil for hydroseeding is just as important as the actual planting process. This article will guide you through the steps to properly prepare your soil for hydroseeding and optimize your results.
Step 1: Assess Your Soil Type
The first step in preparing your soil for hydroseeding is to assess its type. Different types of soils have different properties that can affect the success of your planting. For example, sandy soils drain quickly and may not retain moisture well, while clay soils can become waterlogged and prevent air from reaching the roots. Understanding your soil type will help you make informed decisions about how to prepare it for hydroseeding.
Case Study: A Successful Hydroseeding Project
A landscaping company was tasked with re-growing a large area of turf grass on a commercial property. They decided to use hydroseeding due to the speed and efficiency it offered compared to traditional planting methods. However, they realized that the soil on the property was heavy clay, which could lead to problems with drainage and oxygenation. To solve this problem, they added organic matter such as compost and peat moss to the soil, which improved its structure and promoted better moisture retention and aeration. The result was a lush, green lawn that thrived for years to come.
Step 2: Prepare the Soil Physically
Once you know your soil type, the next step is to prepare it physically. This involves removing any debris or rocks from the surface, tilling the soil to loosen it, and adding any necessary amendments such as compost or lime.
Case Study: A Failed Hydroseeding Project
A homeowner decided to hydroseed their backyard but failed to prepare the soil properly. They simply tilled the soil with a rototiller and spread the seeds without adding any amendments or improving the soil structure. As a result, the grass struggled to take root and the yard was sparse and patchy after several months of growth. The homeowner realized too late that they should have added organic matter and improved the soil structure to promote better moisture retention and nutrient uptake.
Step 3: Adjust the Soil pH
Soil pH plays a crucial role in determining the availability of nutrients for plant growth. Most grasses prefer a pH between 6.0 and 7.5, but some species may require slightly different conditions. Use a soil test kit to determine your soil’s pH level and adjust it as necessary with lime or sulfur additives.
Case Study: A Successful Hydroseeding Project
A park district was tasked with re-growing a large area of turf grass on a commercial property. They decided to use hydroseeding due to the speed and efficiency it offered compared to traditional planting methods. However, they realized that the soil on the property was very acidic, which could lead to problems with nutrient uptake. To solve this problem, they added lime to the soil to raise its pH level to a more suitable range. The result was a lush, green lawn that thrived for years to come.
Step 4: Apply Seeds and Fertilizer
The final step in preparing your soil for hydroseeding is to apply the seeds and fertilizer. Use a spreader to distribute the seeds evenly over the prepared surface, and use a fertilizer that is specifically formulated for hydroseeding to provide the necessary nutrients for growth.