How to Weave Glass: A Comprehensive Guide for Beginners
Introduction:
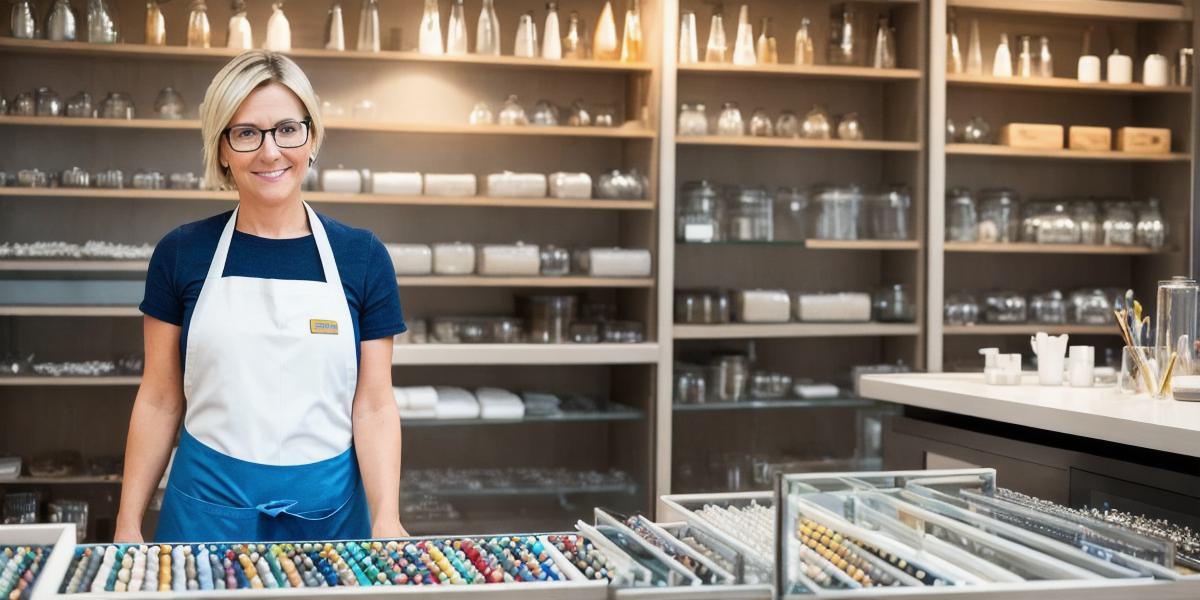
Glass weaving is a fascinating art form that has been practiced for centuries. It involves shaping and molding molten glass into beautiful, intricate designs using various tools and techniques. In this guide, we will take you step by step through the process of weaving glass, from gathering materials to creating your first piece. We will also discuss some common mistakes beginners make and provide tips for overcoming them.
Materials Needed:
Before you begin, it’s important to gather all the necessary materials.
You will need:
-
Glass rods or tubes (available in different sizes and colors)
- Pliers (to hold and manipulate the glass)
-
A kiln (to melt and shape the glass)
-
A workbench or table (to hold your tools and materials)
- Safety glasses (to protect your eyes from flying glass)
-
Gloves (to protect your hands from the heat of the glass)
Safety Precautions:
When working with glass, safety should always be a top priority.
Here are some important safety precautions to keep in mind:
- Never work with broken or chipped glass
-
Wear protective glasses and gloves at all times
- Keep your work area clean and free of clutter to prevent slips and falls
- Always handle hot glass with care and avoid touching it directly
Getting Started:
Now that you have all the necessary materials and safety precautions in place, let’s get started with weaving glass.
Here are the basic steps to follow:
- Gather your materials: Choose the size and color of glass rods or tubes you want to work with. You can also experiment with different textures and patterns to create unique designs.
- Prepare your kiln: Make sure your kiln is properly heated and ventilated before loading it with your glass pieces. Follow the manufacturer’s instructions for heating and cooling times.
- Shape your glass: Use pliers to manipulate the molten glass into the desired shape. This can involve twisting, bending, or rolling the glass into different patterns. Be sure to move slowly and carefully to avoid cracking the glass.
- Cool your glass: Once you have achieved the desired shape, carefully remove the glass from the kiln and let it cool slowly in a protected area. Avoid exposing the glass to sudden temperature changes or shock.
- Finish your piece: When the glass has cooled completely, you can add any necessary decorations or finishing touches. This might include sanding, polishing, or painting the glass.
Tips for Beginners:
Here are some tips to help you avoid common mistakes and improve your weaving skills:
- Practice regularly: Weaving glass takes time and patience to master. Set aside dedicated time each day to practice and experiment with different techniques and designs.
- Don’t be afraid to make mistakes: Making mistakes is a natural part of the learning process. Instead of getting discouraged, use your mistakes as opportunities to learn and improve.
* Take your time:
Weaving glass should be a relaxing and enjoyable activity. Avoid rushing through the process and take your time to ensure you are happy with the final result.
Summary:
Weaving glass is a beautiful and rewarding art form that can be enjoyed by people of all ages and skill levels. By following these basic steps and tips, you can create stunning pieces of glass that are both functional and decorative.