How to Repipe a House: A Comprehensive Guide for DIYers
Introduction:
Repiping is the process of replacing old and damaged pipes with new ones. This guide provides DIYers with a step-by-step process on how to repipe their homes, along with tips from experienced plumbers. Repiping can significantly improve water flow, prevent leaks, and increase the value of your home.
Step 1: Assess Your Plumbing System
Before starting the repiping process, assess the condition of your current plumbing system. Check for leaks or signs of damage, such as discolored or rusted pipes. You should also check if the pipes are made of outdated materials that can cause health hazards and may need to be replaced.
Step 2: Choose the Right Pipe Material
There are several pipe materials available, including copper, brass, and PVC. Copper pipes are durable, flexible, and resist corrosion, making them an excellent choice for households with high water pressure. Brass pipes are also corrosion-resistant but may not be as flexible as copper. PVC pipes are affordable and easy to install but can become brittle over time and require frequent maintenance.
Step 3: Determine the Cost of Your Repiping Project
The cost of repiping depends on several factors, including the size of your home, the type of pipes you choose, and the complexity of the project. You can get a free estimate from licensed plumbers in your area or do some research online to get an idea of the average cost of repiping.
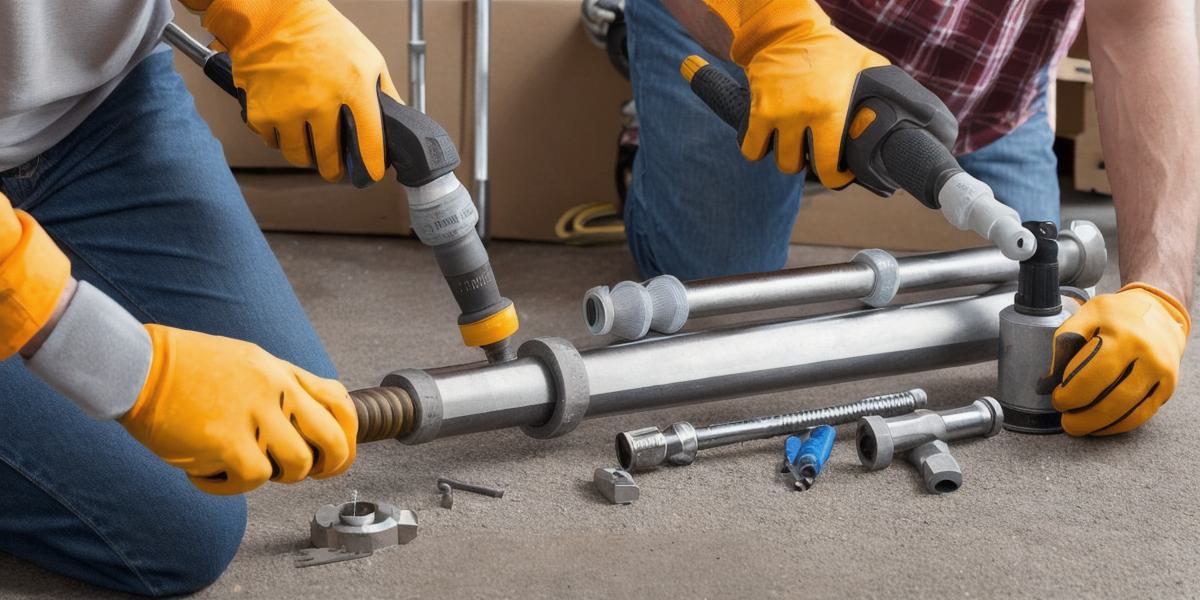
Step 4: Gather the Tools and Materials You Need
Some essential tools include a pipe cutter, plumber’s tape, tee joints, elbows, couplings, and a torch for welding copper pipes. You will also need a variety of fittings, valves, and pipes in the material you have chosen.
Step 5: Prepare Your Home for Repiping
Before starting the actual repiping process, it is important to prepare your home for the work. Turn off the main water supply to your house, drain the tanks, and remove all fixtures from the bathrooms and kitchens. Cover your floors with cardboard or plastic sheeting to protect them from debris and water damage during the repiping process.
Step 6: Cut and Install New Pipes
Cut the new pipes to the correct length using a pipe cutter, join the pipes together using tee joints, elbows, and couplings. You can use soldering or compression fittings, depending on the type of pipes you have chosen. Ensure that all connections are tight and secure to prevent leaks.
Step 7: Test Your New Plumbing System
Test your plumbing system after installing the new pipes to ensure everything is working correctly. Turn on the water supply and check for leaks or drips. If everything looks good, you can start using your new plumbing system.
FAQs:
On average, it takes 2-3 days to complete a repiping project, and the cost depends on several factors such as the size of the home and the complexity of the project. It is possible to do your own repiping with the right tools and knowledge, but it may be more challenging than expected for inexperienced DIYers. Repiping your home can significantly improve water flow, prevent leaks, and increase its value.