How to Remove Paint from Tail Lights with Ease and Efficiency
Introduction
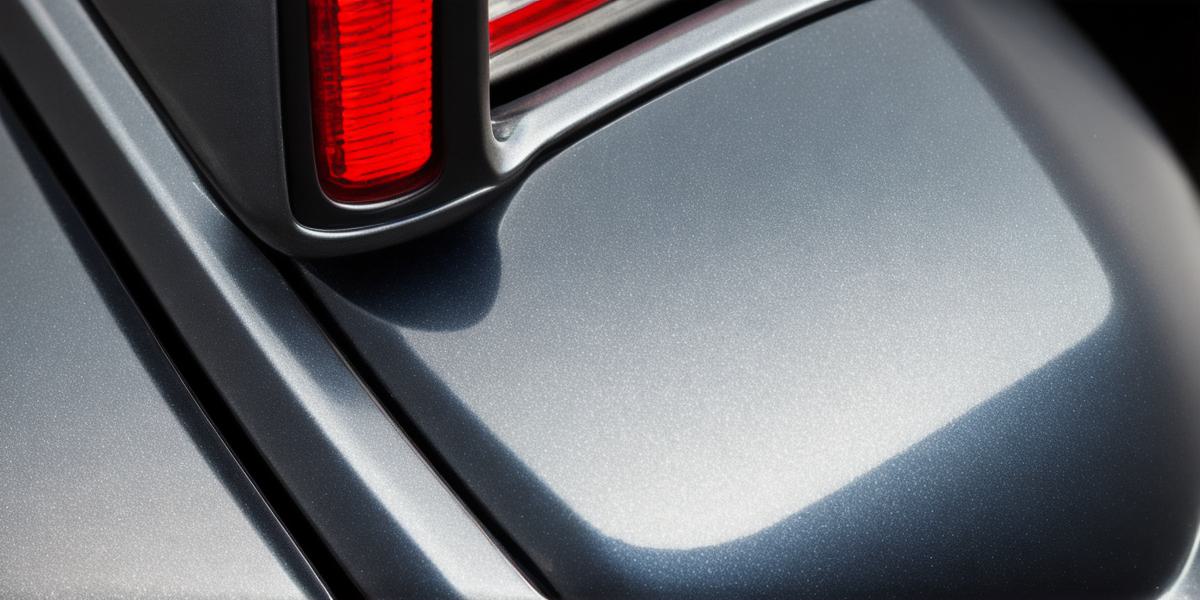
Have you ever tried to remove paint from your tail lights, only to end up with a messy and time-consuming process? It can be frustrating to have to spend hours trying to get rid of paint stains on your car’s exterior. However, there is an easy and efficient way to remove paint from tail lights that will save you time and effort in the long run. In this article, we will explore some simple steps to follow to effectively remove paint from tail lights without causing any damage to your vehicle.
The Importance of Removing Paint Stains from Tail Lights
Before we dive into the steps involved in removing paint stains from tail lights, it’s important to understand why this is an important task. For one, paint stains on tail lights can be distracting and make your vehicle less visible, which can increase the risk of accidents on the road. Additionally, paint stains can also reduce the resale value of your vehicle if they are not removed promptly.
The Steps to Remove Paint from Tail Lights
Now that we have established the importance of removing paint stains from tail lights, let’s take a look at some simple steps you can follow to get the job done:
Step 1: Gather Your Tools and Supplies
Before you start removing paint from your tail lights, it’s important to gather all the necessary tools and supplies. You will need a bucket, soap or dish soap, a sponge, towels, a hair dryer (optional), and some sandpaper (optional). It’s also a good idea to wear gloves and work in a well-ventilated area.
Step 2: Apply the Soap Solution
Once you have all your tools and supplies ready, it’s time to apply the soap solution to the paint stain on your tail light. Fill your bucket with warm water and add some dish soap until it forms a mild foam. Dip your sponge into the solution and gently scrub the paint stain in a circular motion until it begins to soften.
Step 3: Remove the Loose Paint
Once you have softened the paint, it’s time to remove the loose paint particles. Use a dry towel or sponge to wipe away as much of the loose paint as possible. If there are any stubborn bits of paint that won’t come off, use some sandpaper to gently scrape them away.
Step 4: Dry and Clean the Area
After you have removed all the loose paint, it’s important to dry the area thoroughly before cleaning it with a damp towel or sponge. This will prevent any remaining paint from spreading or setting into the surface of your tail light. Once you have cleaned the area, use a dry towel to buff out any residual soap streaks.
Step 5: Polish and Protect Your Tail Light (Optional)
If you want to give your tail light a showroom shine, you can apply some polishing compound to remove any remaining imperfections or scratches. Use a clean cloth to apply the compound in a circular motion until it reaches a high gloss. Then use another clean cloth to buff out any streaks or residue.
Conclusion
Removing paint from your tail lights can be a frustrating task, but with the right tools and techniques, it doesn’t have to be. By following these simple steps, you can effectively remove paint stains from your tail lights without causing any damage to your vehicle. With your tail lights looking their best, you can drive with confidence and peace of mind, knowing that your vehicle is safe and visually appealing.