How to Repair a Dental Handpiece: A Complete Guide
Introduction:
Dental handpieces are essential tools for dentists and dental hygienists. However, as with any tool, they can malfunction or become damaged, which can be frustrating and time-consuming for dental professionals. In this guide, we will provide you with step-by-step instructions on how to repair a dental handpiece. We will also discuss common issues that may arise during the repair process and provide tips on how to avoid them.
Step 1: Identify the Issue
The first step in repairing a dental handpiece is to identify the issue. Common problems include loose parts, broken components, or a malfunctioning motor. To determine the issue, take the handpiece apart and inspect each part. If you are unsure of the problem, consult a dental mechanic or refer to the manufacturer’s instructions.
Step 2: Gather the Necessary Tools
Before beginning the repair process, gather all the necessary tools. These may include screwdrivers, pliers, and specialized dental handpiece repair kits. It is important to have the right tools to avoid damaging the handpiece or causing further issues.
Step 3: Fix Loose Parts
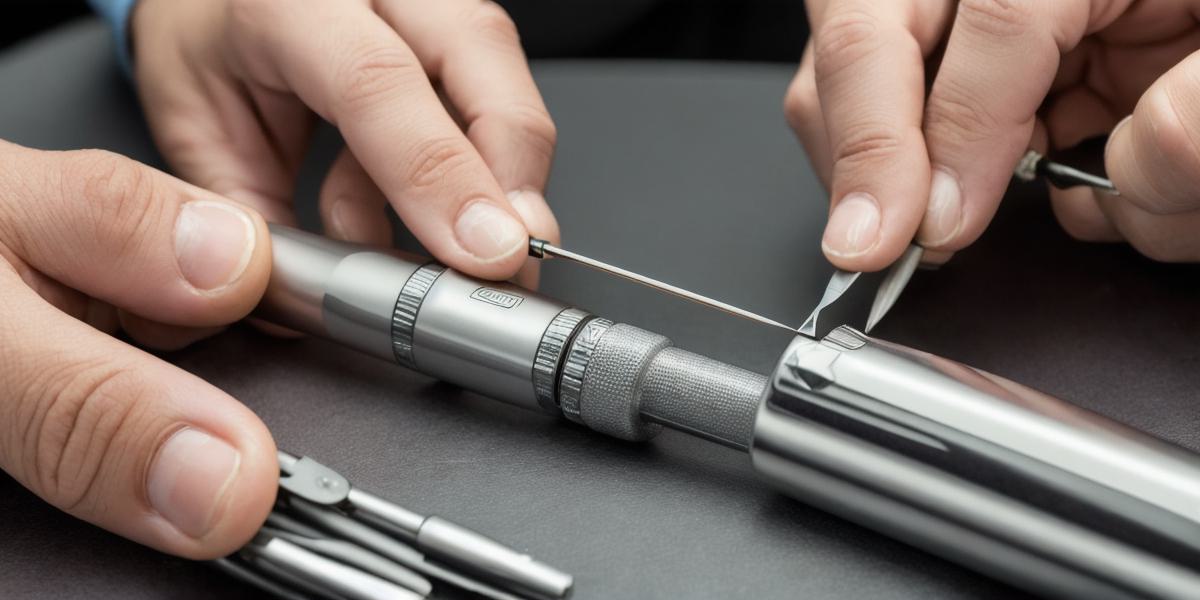
Loose parts can cause a dental handpiece to malfunction or become damaged. To fix loose parts, use screwdrivers or pliers to tighten the screws holding the part in place. Be careful not to over-tighten, as this can cause damage to the component.
Step 4: Replace Broken Components
If a dental handpiece has a broken component, such as a bur or bit, it may need to be replaced. To replace a component, remove it from the handpiece and insert the new one. Be sure to tighten all screws properly to ensure that the component is securely in place.
Step 5: Fix Malfunctioning Motors
If a dental handpiece’s motor is malfunctioning, it may need to be fixed or replaced. To fix a malfunctioning motor, consult a dental mechanic or refer to the manufacturer’s instructions. In some cases, it may be necessary to replace the entire handpiece.
Step 6: Test the Handpiece
After completing repairs, test the dental handpiece to ensure that it is functioning properly. Use a test bit or bur to check the speed and power of the handpiece. If the handpiece seems to be working correctly, it is ready for use.
Common Issues and Tips:
When working on a dental handpiece, always wear protective gear, including gloves and eye protection.
Do not use any harsh chemicals or abrasives on dental handpieces, as this can damage the components.
Always refer to the manufacturer’s instructions when performing repairs on dental handpieces.
If you are unsure of how to repair a dental handpiece, consult a dental mechanic for assistance.
Summary:
Repairing a dental handpiece may seem daunting at first, but with the right tools and knowledge, it can be done quickly and effectively. By following these steps and avoiding common issues, you can ensure that your dental handpieces are always in top condition and ready for use.