How to Make Penis Cookies: A Step-by-Step Guide
Are you tired of the same old boring baked goods?
Are you looking for something unique and exciting to impress your friends and family? Well, look no further! In this article, we will guide you through the process of making penis cookies that are sure to leave a lasting impression.
First things first, before you start baking, it’s important to gather all the necessary ingredients. You will need flour, sugar, eggs, butter, baking powder, milk, vanilla extract, and food coloring. You will also need a cookie cutter in the shape of a penis.
Once you have all your ingredients ready, preheat your oven to 350°F (180°C). Next, cream together the butter and sugar until light and fluffy. Add in the eggs one at a time, making sure each one is fully incorporated before adding the next. Stir in the vanilla extract and food coloring.
In a separate bowl, mix together the flour, baking powder, and salt. Gradually add this dry mixture to the wet ingredients, alternating with the milk, until everything is well combined.
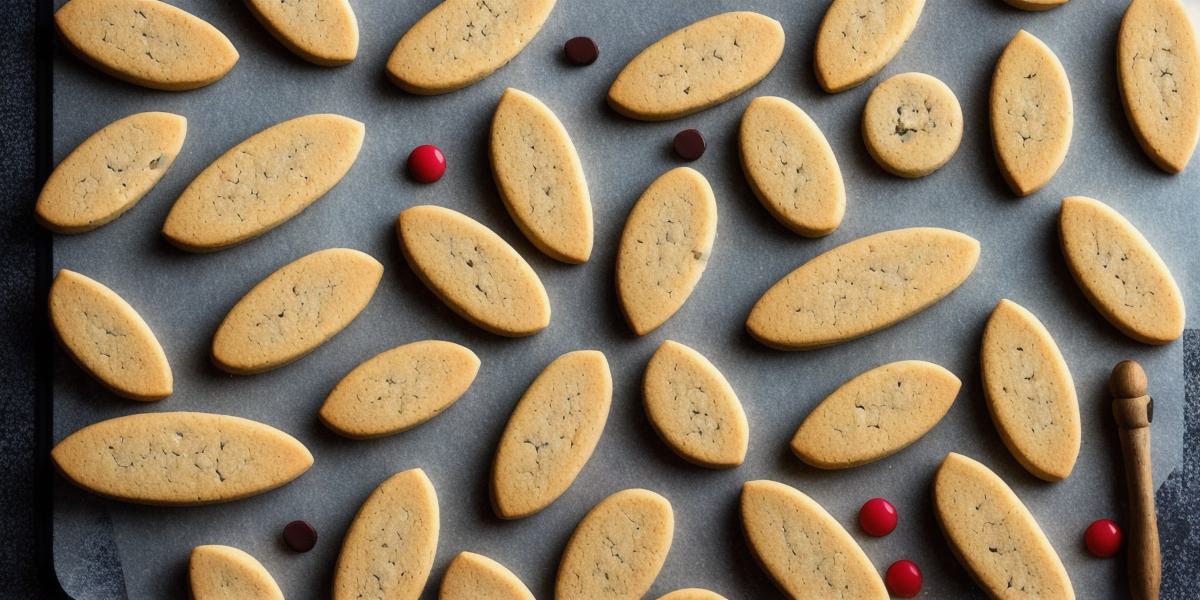
Using your cookie cutter, cut out shapes of penises from the dough. Place them on a baking sheet lined with parchment paper. Bake for 10-12 minutes or until the edges are lightly browned.
Once your cookies have cooled, you can decorate them to make them even more impressive. Use frosting or melted chocolate to add details such as veins, glans, and testicles. You can also use sprinkles or chopped nuts to create a more textured look.
But don’t just take our word for it – try making penis cookies for yourself and see the reactions you get! Not only will they be a hit at your next party, but they will also impress your friends and family in the kitchen. Plus, who doesn’t love something that’s both delicious and entertaining?
FAQs:
Q: Can I use any type of cookie cutter for this recipe?
A: Yes, as long as it’s in the shape of a penis, you can use any type of cookie cutter.
Q: Do I need to chill the dough before cutting out the shapes?
A: No, chilling the dough isn’t necessary for this recipe. However, if you find that the dough is too sticky to work with, you can chill it in the refrigerator for a few minutes to firm up.
Q: Can I make these cookies ahead of time and freeze them?
A: Yes, you can make the dough and cut out the shapes ahead of time and freeze them until you’re ready to bake them. Just be sure to thaw them completely before baking.