The Ultimate Guide to Checking Your Blood Glucose Balance
Introduction
Blood glucose, also known as blood sugar, is a type of sugar found in your blood. It’s essential for the body to function properly and maintain energy levels. However, when blood glucose levels get out of whack, it can lead to serious health problems like diabetes. That’s why checking your blood glucose balance is crucial. In this guide, we will explore everything you need to know about checking your blood glucose balance, including its importance, how to do it correctly, and the best tools to use.
Importance of Blood Glucose Balance
Blood glucose plays a vital role in the body’s energy production. It provides the body with the fuel needed for physical activities like exercise and daily functions like digestion and brain function. When blood glucose levels are too high or too low, it can lead to serious health problems.
For instance:
High Blood Glucose Levels
When blood glucose levels are too high, it can lead to hyperglycemia, a condition characterized by high blood sugar levels. Hyperglycemia is associated with an increased risk of heart disease, stroke, and kidney damage. It’s also a common symptom of type 2 diabetes.
Low Blood Glucose Levels
When blood glucose levels are too low, it can lead to hypoglycemia, a condition characterized by low blood sugar levels. Hypoglycemia is associated with an increased risk of seizures, coma, and even death in severe cases. It’s also a common symptom of type 1 diabetes.
How to Check Your Blood Glucose Balance
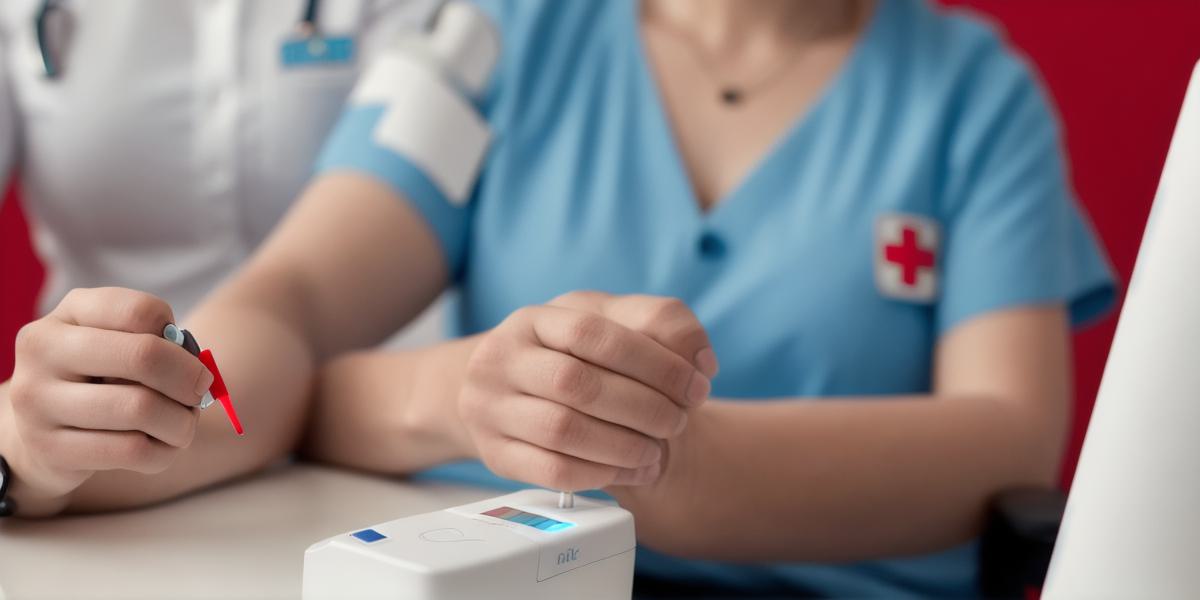
Checking your blood glucose balance involves measuring the amount of sugar found in your blood. This can be done using a blood glucose meter, which is a small handheld device that uses a drop of blood to determine blood glucose levels.
Here’s how to use a blood glucose meter:
Step 1: Wash Your Hands
Before using the blood glucose meter, wash your hands with soap and water to avoid contamination.
Step 2: Insert the Test Strip
Insert the test strip into the blood glucose meter according to the manufacturer’s instructions. The test strip usually requires a small drop of blood, which can be obtained by pricking your fingertip or earlobe with a lancet.
Step 3: Wait for the Result
The blood glucose meter will provide you with a reading in a few seconds. The result will be displayed on the screen, along with an arrow indicating whether your blood glucose levels are too high, too low, or within normal range.
Step 4: Record the Result
Record your blood glucose reading and the time of day you took it. This information can help you identify patterns in your blood glucose levels and make adjustments to your diet and lifestyle as needed.
The Best Tools to Use
There are many blood glucose meters available on the market, and choosing the right one for your needs can be overwhelming. Here are some factors to consider when selecting a blood glucose meter:
Accuracy
Accuracy
is crucial when checking your blood glucose balance. Look for a blood glucose meter that has been certified by the International Organization for Standardization (ISO).
Ease of Use
Look for a blood glucose meter that is easy to use and requires minimal training.
Memory Capacity
Choose a blood glucose meter with a large memory capacity if you plan on tracking your blood glucose levels over time.
Cost
Blood glucose meters can be expensive, but there are many affordable options available. Look for a blood glucose meter that fits your budget while still providing accurate results.
