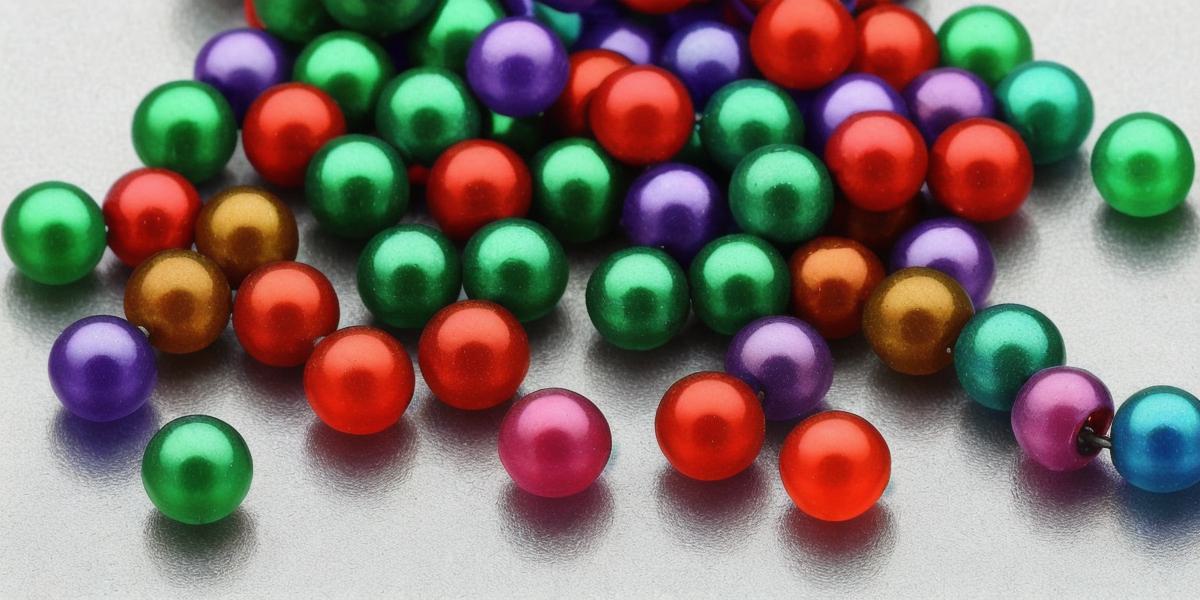
The Ultimate Guide to Annealing Glass Beads: Tips and Tricks
Annealing glass beads is a crucial step in the glass beading process, as it allows you to soften and shape your beads into the desired form. In this guide, we will take you through the entire annealing process, from preheating to quenching, and provide tips and tricks to ensure that your glass beads turn out perfect every time.
Preheating the kiln
Before you start annealing your glass beads, it’s important to preheat the kiln to the appropriate temperature. The temperature will depend on the type of glass you are using and the desired outcome of your bead. For most projects, a temperature range of 850°F – 1100°F is recommended. To check the temperature, use a thermometer placed at the center of the kiln.
Heating the beads
Once your kiln is preheated, it’s time to heat the glass beads. Place the beads on a tray in the kiln, making sure they are not touching or overlapping. Heat the beads slowly and evenly over a period of 1-2 hours. The color of the bead will change as it heats up, turning from opaque to transparent.
Quenching the beads
After the beads have been heated to the desired temperature, remove them from the kiln using oven mitts and place them on a quench block. The quench block is made of metal or stone and will quickly cool the bead down to room temperature. It’s important to quench the beads slowly and evenly to prevent cracking or breaking.
Tips and tricks
- Always wear protective gear when handling hot glass, including oven mitts, safety glasses, and a ventilator mask.
- When preheating the kiln, it’s important to heat up the entire kiln, not just the heating element. This will ensure that the temperature is even throughout the kiln.
- If you notice any cracking or breaking during the quenching process, you may need to adjust the quench time or temperature.
- To create a smooth and polished surface on your beads, use sandpaper or buffing wheels after annealing.
- Experiment with different types of glass and temperatures to achieve unique and interesting effects in your beads.
FAQs
Q: Can I anneal my own glass beads at home?
A: Yes, with the right equipment and knowledge, you can safely anneal your own glass beads at home. However, it’s important to follow all safety precautions and use a well-ventilated area.
Q: How long does it take for my glass beads to cool down after quenching?
A: It usually takes 1-2 hours for your glass beads to cool down completely after quenching. However, this can vary depending on the size and shape of the bead, as well as the ambient temperature.
Q: Can I anneal multiple types of glass beads at once?
A: Yes, you can anneal multiple types of glass beads at once, but make sure to heat them to the appropriate temperature for each type of glass. It’s also important to quench the beads separately to prevent cracking or breaking.
In conclusion, annealing glass beads is a crucial step in the glass beading process that requires careful attention to detail and safety precautions. By following these tips and tricks, you can create beautiful and unique glass beads every time. Remember to always prioritize safety when working with hot glass and have fun experimenting with different techniques and materials.