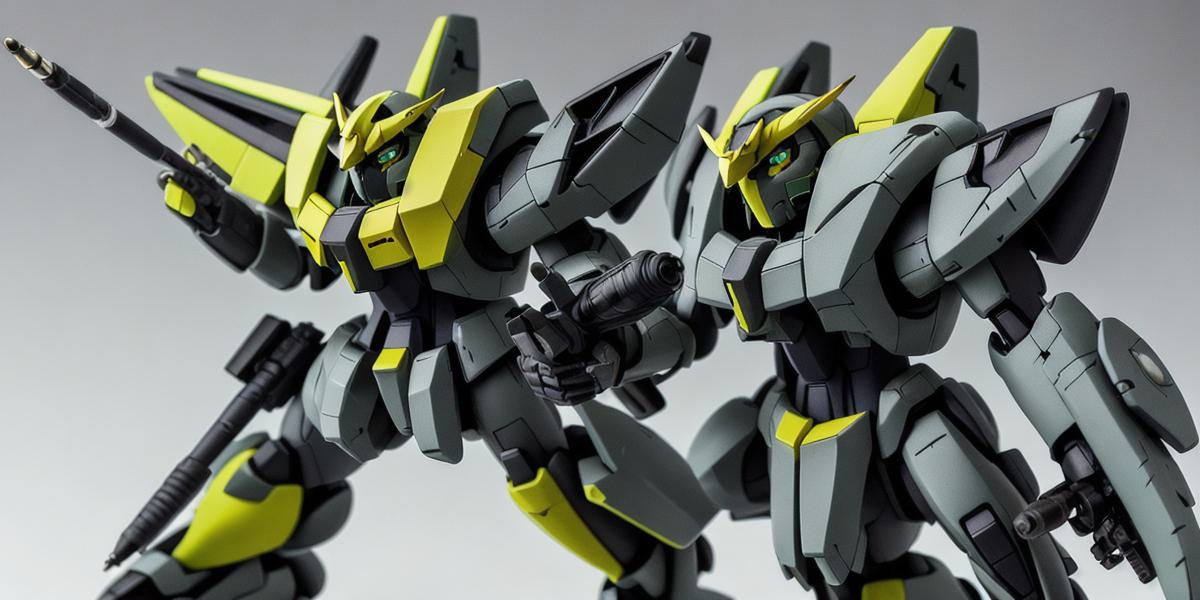
Mastering the Art of Airbrushing Gunpla: A Comprehensive Guide for Beginners
Introduction:
Airbrushing has become an essential tool for creating stunning and realistic finishes on Gunpla, the Japanese hobby of building and customizing plastic models. With its ability to achieve a smooth and even finish, airbrushing can transform your model from basic to breathtaking. However, mastering this technique requires patience, practice, and a deep understanding of the materials and techniques involved. In this comprehensive guide for beginners, we will explore everything you need to know to get started with airbrushing Gunpla.
Materials Needed:
To start airbrushing your Gunpla, you’ll need the following materials:
-
Airbrush gun
- Compressor
- Paint cups
-
Hose
-
Filters
- Paint (primer, base coat, top coat)
-
Thinner or water
-
Sandpaper
-
Primer
- Finishing products (sealants, glazes, etc.)
Choosing the Right Airbrush Gun:
The first step in airbrushing is selecting the right airbrush gun. There are several types of airbrushes available, including handheld and stationary models. For beginners, we recommend starting with a handheld airbrush gun as they are more portable and easier to control. Look for an airbrush that has a variable speed dial and adjustable pressure settings. Some popular beginner-friendly airbrushes include the Tamiya XB10, the Iwata Revolution 140, and the Satake PHX-35.
Preparing Your Workspace:
Before you start airbrushing, it’s essential to prepare your workspace. Clear a large, flat area where you can work comfortably without bumping into anything. Make sure the room is well ventilated as fumes from paint and thinner can be harmful if inhaled. You may also want to cover your work surface with newspaper or cardboard to catch any spills or drips.
Primer
:
The first step in airbrushing is to apply a coat of primer to your Gunpla model. This helps to create a smooth and even surface for painting and ensures that the paint adheres well. Apply the primer using a brush or an airbrush, making sure to cover every inch of the model. Allow the primer to dry completely before moving on to the next step.
Painting:
Once your Gunpla is primed, it’s time to start painting. Start by applying a base coat of paint using an airbrush. Use a smooth and steady hand when painting, and make sure to keep the air pressure at a low setting to avoid overspraying. Allow the base coat to dry completely before adding any additional coats or details.
Tips for Airbrushing:
Here are some tips to help you master airbrushing Gunpla:
* Practice makes perfect – The more you practice, the better you will become at airbrushing. Start with small projects and work your way up to larger models.
* Use thin coats of paint – Applying thin coats of paint is key to achieving a smooth and even finish. Avoid applying too much paint as it can result in a grainy texture.
* Be patient – Airbrushing requires patience and precision. Don’t rush the process and take your time to ensure that each coat of paint is applied evenly.
* Use reference materials – Referencing other Gunpla models or online tutorials can help you learn new techniques and improve your skills.
Case Study:
One beginner who successfully mastered airbrushing Gunpla is Emily, a 25-year-old hobbyist from the United States. Emily started out building Gunpla with basic paints and brushes but was always dissatisfied with the results. She then discovered airbrushing and decided to give it a try.
