How to Thatch a Dollhouse Roof: A Step-by-Step Guide
Are you looking for a fun and creative DIY project to work on?
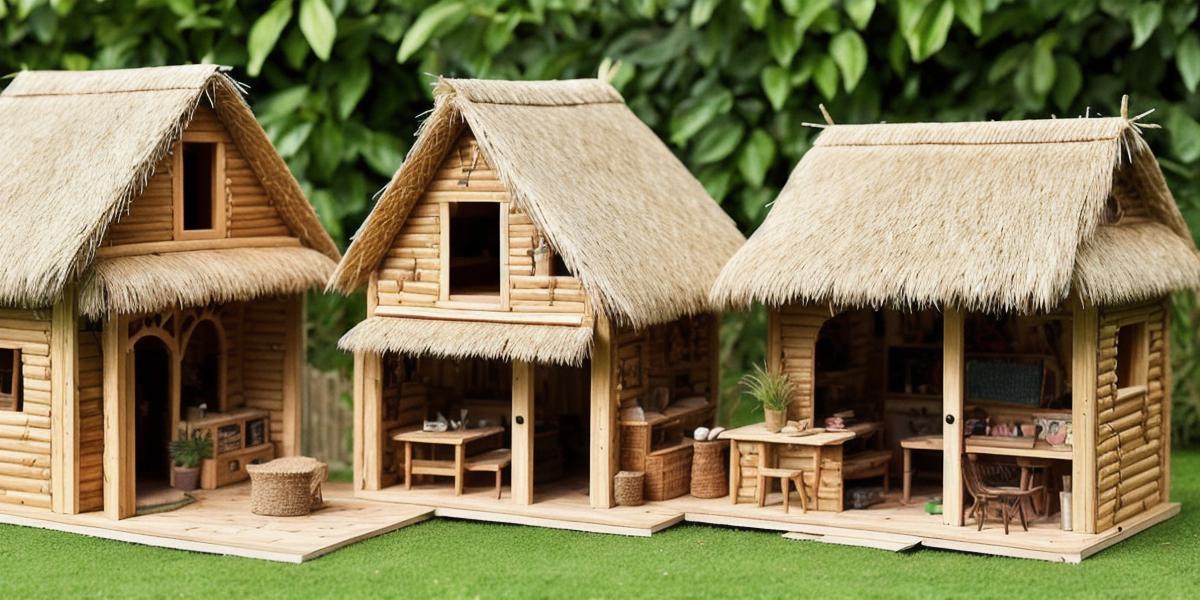
Why not try thatching your dollhouse roof?
Not only is it a unique and interesting project, but it can also add character and charm to your dollhouse. In this article, we’ll guide you through the process of thatching a dollhouse roof step by step.
Before we begin, let’s first understand what thatching is. Thatching is the art of covering a roof with dried or fresh plant materials, such as straw, heather, or reeds. It has been used for centuries to protect homes and buildings from the elements and add beauty to their surroundings.
Now that we have a basic understanding of what thatching is, let’s dive into how to thatch a dollhouse roof.
Materials Needed:
*
Dollhouse roof template or pattern
- Scissors or craft knife
- Thatching materials (such as straw, heather, or reeds)
- Glue or adhesive
- Paintbrush and paint (optional)
Step 1: Gather Your Materials
The first step in any DIY project is to gather all the necessary materials. In this case, you’ll need a dollhouse roof template or pattern, scissors or a craft knife, thatching materials, glue or adhesive, and a paintbrush and paint (optional).
Step 2: Cut Out the Roof Template
Using your scissors or craft knife, carefully cut out the roof template from the dollhouse kit. Make sure to follow the instructions carefully to ensure that the roof is cut correctly.
Step 3: Gather Your Thatching Materials
Next, gather your thatching materials. You can use straw, heather, or reeds, depending on your preference and what you have available. Cut the thatching material into small strips, making sure they are approximately the same width as the roof template.
Step 4: Apply Glue to the Roof Template
Using a paintbrush or your fingers, apply glue or adhesive to the bottom edge of the roof template. Make sure to spread it evenly and carefully so that there are no lumps or bumps.
Step 5: Begin Thatching the Roof
Begin by placing the first strip of thatching material on the roof template, starting at the bottom edge and working your way up. Use a small amount of glue to hold the strip in place, making sure it is straight and evenly spaced from the next strip.
Continue adding strips of thatching material, working your way up the roof template. Make sure each strip overlaps the previous one by about an inch or two to ensure a strong and secure bond.
Step 6: Finish the Roof
Once you have reached the top of the roof template, apply a small amount of glue to hold the last strip in place. Allow the glue to dry completely before moving on to the next step.
Step 7: Paint the Roof (Optional)
If you want to add color and personality to your dollhouse, you can paint the thatched roof. Use a paintbrush and paint of your choice to cover the thatching material evenly. Make sure to let the paint dry completely before moving on to the next step.
Step 8: Add Decorative Elements (Optional)
To add a touch of personality and charm to your dollhouse, you can add decorative elements such as flowers, birds, or other objects. These can be added using small figurines or by painting the thatching material to resemble certain objects.
Summary:
Thatching a dollhouse roof is a fun and creative DIY project that can add character and charm to your dollhouse.