How to Shim a Gearbox: The Ultimate Guide for DIY Enthusiasts
Introduction:
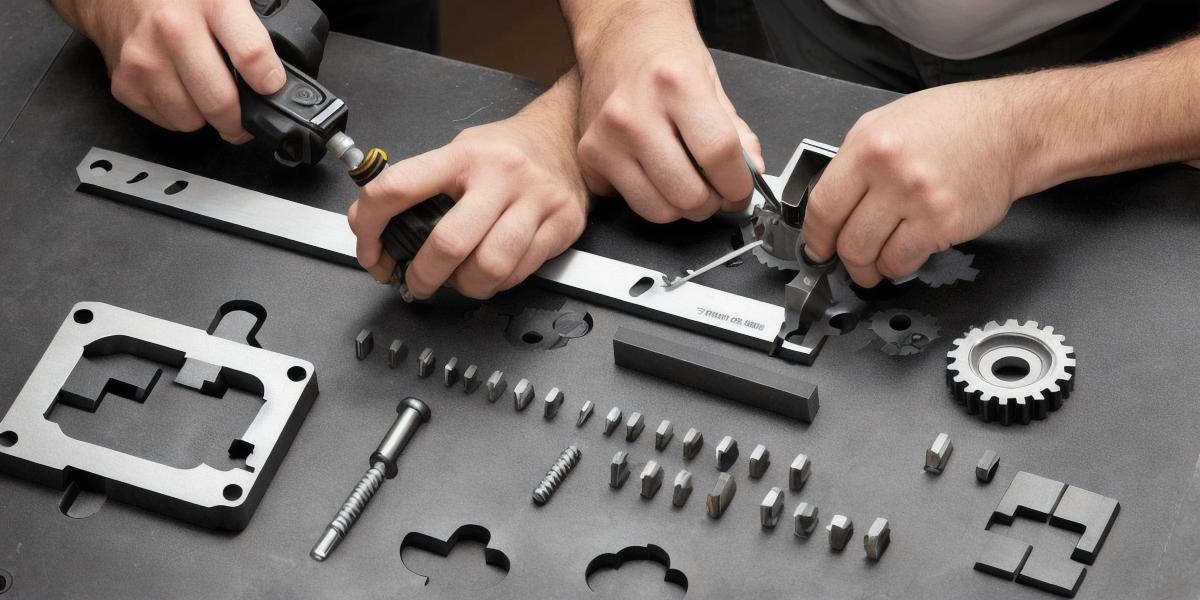
A shim is a small piece of material used to adjust the position or shape of an object, such as a gear in a gearbox. Shimming a gearbox can help improve its performance, prevent damage and increase its lifespan. In this guide, we’ll take you step by step through the process of shimming a gearbox, from gathering the necessary tools to properly fitting and installing the shims.
Tools Required:
To shim a gearbox, you will need the following tools:
-
Gearbox
-
Shims
-
Screwdriver
-
Gearbox
grease
- Tape measure
- Calipers or micrometers
- Marker pen
Types of
Shims
:
There are several types of shims available, including metal, plastic, and rubber. Metal shims are the most commonly used and can be adjusted in position to change the clearance between gears. Plastic shims are also popular as they’re cheaper and easier to install than metal ones. Rubber shims are less common but can help absorb vibrations and reduce noise.
Steps to Shim a
Gearbox
:
- Identify the issue: The first step is to identify what the gearbox needs to be shimmed for. Common issues include excessive wear, misalignment or noise. Use your ears and eyes to check for any unusual sounds or visual signs of wear.
- Remove the cover: Remove the cover of the gearbox and inspect the gears for any damage or wear. Make a note of which gears need shimming.
- Measure the clearance: Use calipers or micrometers to measure the clearance between the gears that need shimming. The ideal clearance will depend on the gearbox and its intended use, so refer to the manufacturer’s guidelines for more information.
- Choose the right shim: Based on your measurements and the issue with the gearbox, choose the right type and size of shim. Metal shims are the most commonly used and can be adjusted in position to change the clearance between gears. Plastic shims are also popular as they’re cheaper and easier to install than metal ones. Rubber shims are less common but can help absorb vibrations and reduce noise.
- Install the shim: Apply gearbox grease to the surface of the gear where you’ll be installing the shim. Insert the shim into place, making sure it’s properly seated and centered. Use a screwdriver to tighten the bolts holding the gears in place, being careful not to over-tighten.
- Test the gearbox: After installing the shims, test the gearbox to make sure it’s running smoothly and quietly. If there are still any issues, adjust the position of the shim or consider using a different type of shim.
- Replace the cover: Once you’re satisfied with the performance of the gearbox, replace the cover and tighten all bolts securely.
Conclusion:
Shimming a gearbox can help improve its performance, prevent damage and increase its lifespan. With the right tools and a bit of patience, anyone can shim a gearbox and enjoy the benefits that come with it. Remember to always refer to the manufacturer’s guidelines and use caution when adjusting shims to avoid causing any further damage.