How to Season a Camp Oven: The Ultimate Guide
Introduction:
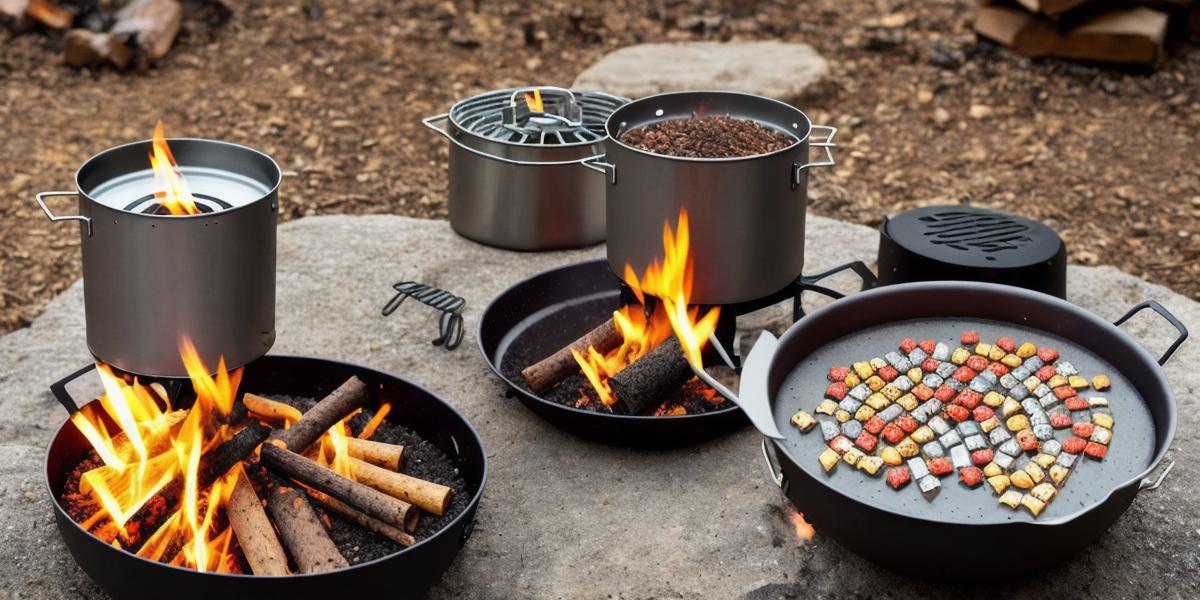
A camp oven is an essential cooking utensil for any outdoor enthusiast, whether you’re camping, hiking, or hunting. It’s versatile and can cook a variety of dishes, from hearty stews to delicate pastries. However, before you start using your camp oven, you need to season it properly to ensure that your food turns out perfectly every time. In this guide, we’ll walk you through the step-by-step process of how to season a camp oven, including tips and tricks from experts.
Step 1: Choose Your Seasoning Mixture
The first step in seasoning your camp oven is choosing the right mixture. There are many different seasoning mixtures available on the market, but some of the most popular ones include:
- Flour and water paste: This is a simple and effective way to season your camp oven. Mix equal parts flour and water until it forms a smooth paste, and then apply it evenly to the oven’s interior using a brush or sponge.
- Cooking oil and salt: Another popular option is to use cooking oil and salt to season your camp oven. Heat some oil in the oven until it starts to smoke, and then add a pinch of salt. Swirl the mixture around with a spoon or spatula, and then let it cool before using the oven.
- Commercial seasoning: If you don’t have time to make your own seasoning mixture, you can use a commercial one instead. Look for a high-quality seasoning that is specifically designed for camp ovens.
Step 2: Clean the Oven
Before you start seasoning your camp oven, you need to clean it thoroughly. Use warm soapy water and a brush or sponge to remove any dirt, grime, or grease from the oven’s interior. Rinse well with clean water and let the oven dry completely before proceeding to the next step.
Step 3: Apply the Seasoning Mixture
Once your camp oven is clean, it’s time to apply the seasoning mixture. Use a brush or sponge to evenly coat the interior of the oven with the mixture. Make sure to get into all the nooks and crannies, including the lid and stove top.
Step 4: Let the Oven Heat Up
After you’ve applied the seasoning mixture, let the oven heat up for a few minutes. This will allow the mixture to set and create a non-stick surface that will make cooking much easier.
Step 5: Cook with Your Camp Oven
Now that your camp oven is properly seasoned, you can start cooking! Experiment with different recipes and dishes to see what works best in your oven. Some popular options include hearty stews, roasted vegetables, and delicious pastries.
Tips and Tricks:
- Always use a non-stick pan when cooking in your camp oven. This will prevent food from sticking and make cleaning much easier.
- Don’t overcrowd your oven. Cooking with too much food at once can cause the temperature to drop, which can lead to uneven cooking and longer cooking times.
- If you notice any food sticking to the bottom of the oven, use a brush or spatula to gently scrape it off. Don’t use metal utensils, as they can scratch the non-stick surface.
Summary:
Seasoning your camp oven properly is essential for ensuring that your food turns out perfectly every time. By following these simple steps and tips, you can easily season your camp oven and start cooking with confidence.