How to Replace Cable on GHD Straighteners: A Guide for Beauty Lovers
Introduction:
Ghd straighteners are one of the most popular hair styling tools out there. They provide quick, even heating and can straighten even the toughest locks in no time. However, over time, the cable on your ghd straighteners may become frayed, damaged, or just plain old. When this happens, it’s important to replace it promptly for the sake of both your hair and the longevity of your straightener. In this guide, we will show you how to replace the cable on your ghd straighteners with ease.
Why You Need to Replace the Cable:
Before we dive into the steps, let’s talk about why it’s so important to replace the cable on your ghd straighteners. A damaged or frayed cable can be dangerous to use, as it may overheat and cause burns on your hair. It can also compromise the performance of your straightener, making it more difficult to achieve a smooth, straight finish.
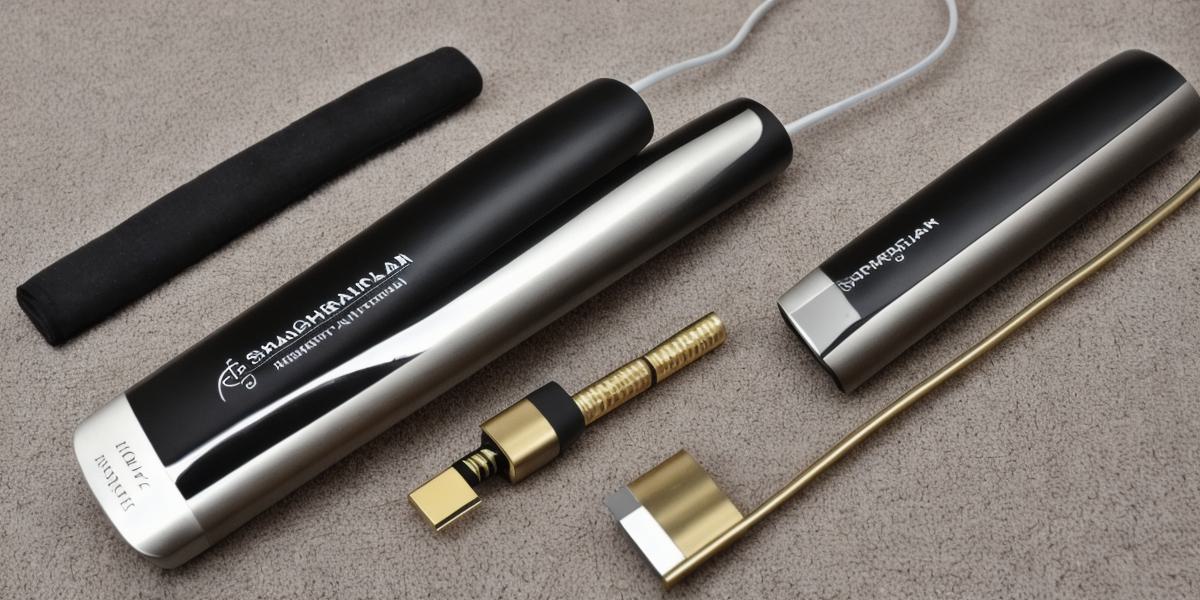
Steps to Replace the Cable:
Replacing the cable on your ghd straighteners is a simple process that you can do at home.
Here are the steps you should follow:
- Gather your supplies: You will need a new straightener cable that matches the one on your straightener, as well as any necessary tools such as a screwdriver or pliers.
- Turn off the straightener and unplug it from the power source. This is important to prevent injury.
- Open up the straightener by removing the plate at the top. Depending on the model of your straightener, you may need to use a screwdriver or other tool to remove any screws or prying the plate open with your fingers.
- Once the plate is off, locate the cable connection point. This will usually be a small hole or slot near the base of the straightener.
- Carefully remove the old cable from the connection point. Be sure to pull on the connector and not the cable itself, as this can cause damage.
- Insert the new cable into the connection point and secure it in place.
- Replace the plate back onto the straightener and plug it back in to the power source. You should now be able to use your straightener with the new cable.
Tips:
When replacing the cable on your ghd straighteners, here are a few tips to keep in mind:
- Always make sure you have the correct cable for your straightener. Using a different cable can damage the straightener or cause it to stop working properly.
- If possible, try to find a straightener cable that is made of high-quality materials. This will help ensure that it lasts longer and performs better than cheaper options.
- If you’re unsure about how to replace the cable on your straightener, consult the user manual or contact ghd customer service for assistance.
Summary:
Replacing the cable on your ghd straighteners is a quick and easy process that can make all the difference in the way your hair looks and feels. By following these simple steps, you can keep your straightener working at its best and ensure that your hair looks its best too.