How to Put on a Flag Football Belt: A Step-by-Step Guide
Are you ready to hit the flag football field?
Putting on your belt is a crucial step in ensuring safety and comfort while playing. In this guide, we’ll walk you through the process of putting on a flag football belt step-by-step.
1. Choose the right size: Before you put on your belt, make sure it fits properly. Flag football belts come in various sizes, so measure yourself or consult the manufacturer’s sizing chart to ensure you get the right fit.
2. Adjust the waistband: Once you’ve chosen your size, adjust the waistband of your belt to a comfortable level. Make sure it is not too loose or too tight.
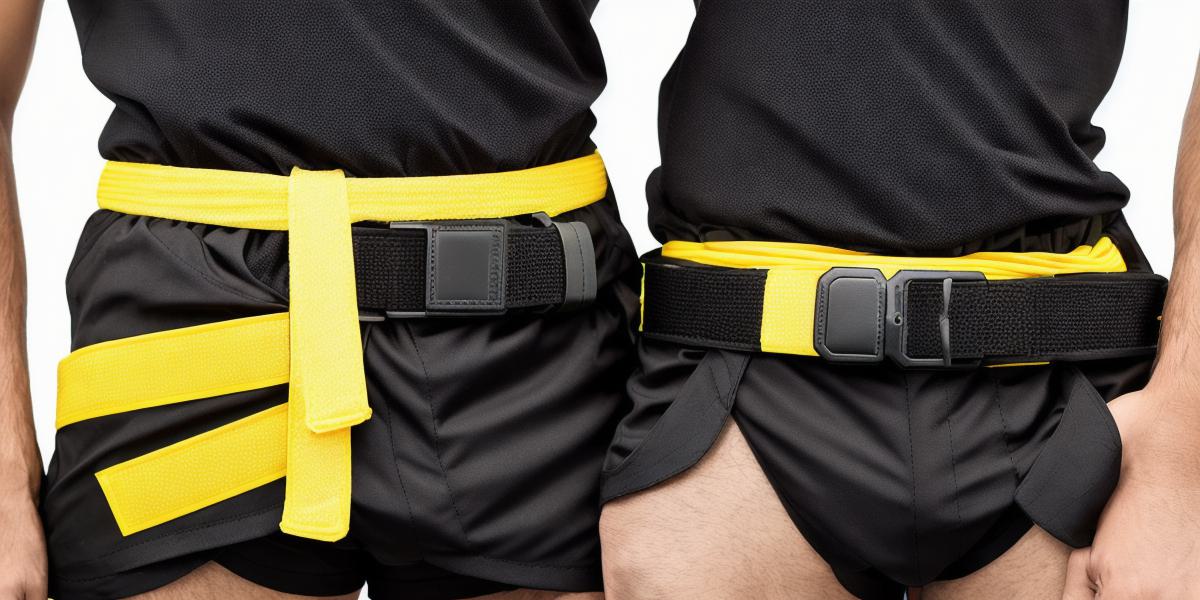
3. Fasten the belt: After adjusting the waistband, fasten the belt using the buckle and Velcro. Ensure that the belt is secure and won’t come undone during play.
4. Check for padding: Your flag football belt should have padding on the sides to protect your hips from injuries. Make sure the padding is properly aligned and in place before you begin playing.
5. Adjust the shoulder pads: Depending on your size and playing style, you may need to adjust the shoulder pads of your belt. This will ensure that they are properly positioned and provide adequate protection during play.
6. Test the belt: Before you hit the field, test the belt by running, jumping, and changing direction. Make sure it is comfortable and doesn’t restrict your movement.
Remember, safety should always be your top priority when playing flag football. By following these steps, you can ensure that your belt is properly fitted and will protect you from injuries.