How to Pare Leather: A Comprehensive Guide for Beginners
Introduction:
Leather is a durable and versatile material that can add elegance and sophistication to any outfit or accessory. Whether you’re a fashion enthusiast, a DIY crafter, or just someone who wants to learn how to pare leather, this comprehensive guide has got you covered. In this article, we will provide step-by-step instructions on how to pare leather safely and effectively, along with tips and tricks for achieving the perfect results.
What is Leather Parsing?
Leather paring, also known as shaving or scraping, is the process of removing the outermost layer of leather to reveal a smoother, more uniform surface. This technique is often used in leatherworking and fashion design to create clean, finished edges and give a professional look to any project.
Tools You’ll Need:
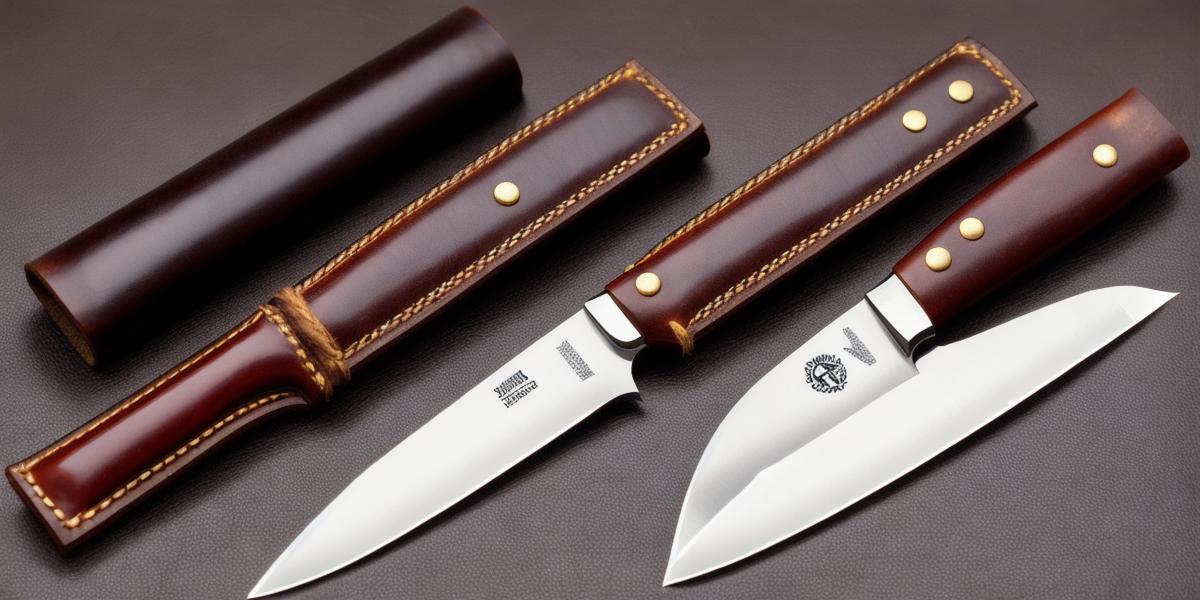
Before you begin, make sure you have all the necessary tools on hand. These include a sharp knife or razor blade, a piece of scrap wood or cardboard, a pencil, a ruler, and some leather conditioner.
Step-by-Step Guide:
- Mark the area to be pared with a pencil: Using a ruler, measure out the area you want to pare and mark it with a pencil. This will help you stay focused and ensure that you don’t accidentally cut yourself.
- Prepare the scrap wood or cardboard: Place the scrap wood or cardboard under the leather to protect it from being damaged during the paring process.
- Sharpen your knife or razor blade: Use a sharp knife or razor blade to ensure that you get clean, even cuts.
- Start paring: Begin by holding the knife or razor blade perpendicular to the leather and applying gentle pressure. Move the blade in smooth, even strokes, following the grain of the leather. Be sure to keep your fingers out of the way and use caution not to cut yourself.
- Check your progress: As you pare, check your work regularly to ensure that you’re getting the desired results. If you notice any rough spots or uneven areas, simply go back and smooth them out with the knife or razor blade.
- Clean up the edges: Once you’ve finished paring, use a clean cloth or sponge dipped in leather conditioner to clean up any rough edges or stains on the leather.
Tips and Tricks:
- Take your time: Leather paring is a delicate process that requires patience and precision. Don’t rush through it – take your time and ensure that you get the desired results.
- Practice makes perfect: Like any skill, practice makes perfect. The more you pare leather, the better you’ll become at it.
- Use a light touch: Be gentle when paring leather, as too much pressure can damage the material.
- Keep your work area clean: Leather paring can be messy, so make sure to keep your work area clean and tidy to avoid accidents.
FAQs:
Q: Can I pare leather with a saw or drill?
A: No, saws and drills are not suitable for paring leather. Use a knife or razor blade instead.
Q: How often should I condition my leather after paring it?
A: Condition your leather regularly to keep it soft and supple. Use a high-quality leather conditioner and follow the manufacturer’s instructions.
Conclusion:
Leather paring may seem daunting at first, but with practice and patience, you can master this technique and add a professional touch to any project. Whether you’re a fashion enthusiast or just someone who wants to learn how to pare leather, these tips and tricks will help you achieve the perfect results every time.