How to Paint a Honeycomb: A Step-by-Step Guide for Beginners
If you’re looking for a unique and interesting project to undertake, consider painting a honeycomb! Not only is it visually stunning, but it can also be a fun and engaging activity for all ages. In this guide, we will take you through the step-by-step process of painting a honeycomb, from materials to techniques to tips for success.
Materials Needed:
- Honeycomb template or wax honeycomb mold
- Acrylic paint in various colors (you can also use spray paint)
- Paintbrushes in different sizes and shapes (such as fan brushes, round brushes, and detail brushes)
-
Paint tray
- Varnish or sealer (optional)
Steps to Follow:
- Choose Your Template or Mold: You can either purchase a honeycomb template online or make your own using cardboard or foam core. Alternatively, you can use a wax honeycomb mold to create a three-dimensional effect.
- Gather Your Materials: Once you have your template or mold, gather all of the materials you will need. Acrylic paint in various colors, paintbrushes, a paint tray, and varnish or sealer (optional).
- Prepare Your Work Area: Clear a space in your home or studio where you can work comfortably. Cover any surfaces with newspaper or painter’s tape to protect them from spills or drips.
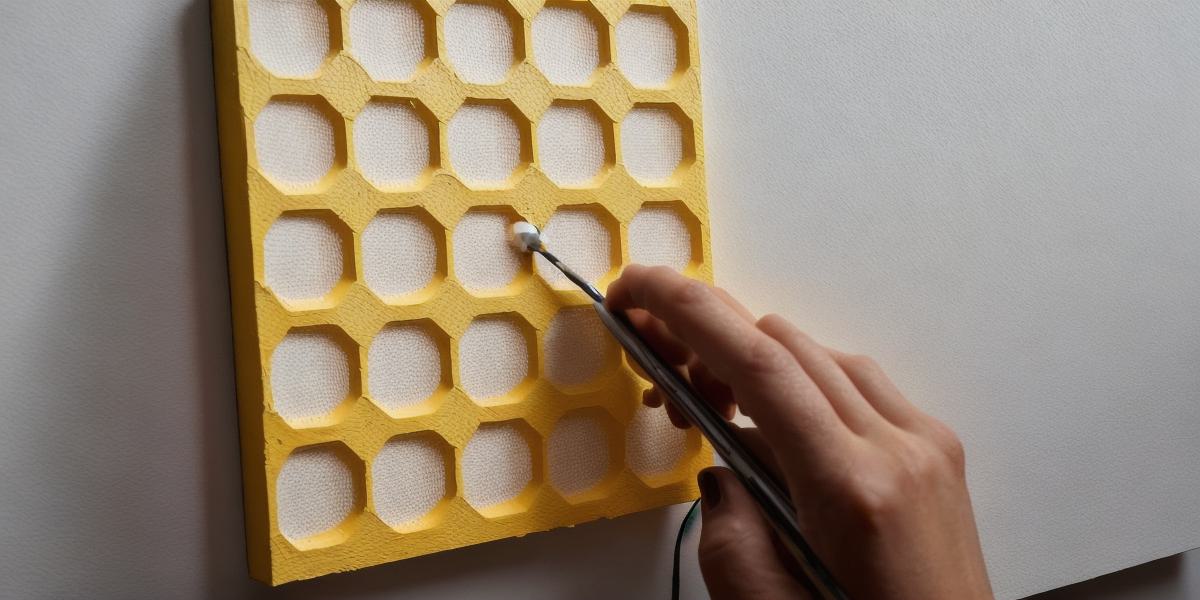
- Paint the Honeycomb: Start by painting the outlines of the honeycomb cells using a small round brush. Once the outlines are dry, use a fan brush to fill in the cells with your chosen paint colors. Be sure to leave enough space between each cell so that they do not blend together.
- Add Details: Use a detail brush to add any finer details or shading to your honeycomb. You can also use a palette knife for added texture and depth.
- Let it Dry: Allow your honeycomb to dry completely before applying any varnish or sealer. This will protect the paint from moisture and damage.
- Display Your Creation: Once your honeycomb is fully dried, you can display it as a unique piece of art in your home or office. You could also use it as a decorative element for events or parties.
Tips for Success:
- Start with one color and build up to other colors gradually. This will help you create a cohesive design.
- Use thin, even layers of paint to avoid blending cells together.
- Take your time and be patient throughout the process. It may take several coats of paint to achieve the desired effect.
- Experiment with different brush techniques and paint textures for added visual interest.
FAQs:
Q: Can I use any type of paint for my honeycomb project?
A: Yes, you can use acrylic paint, spray paint, or even watercolors to paint your honeycomb. Just be sure to choose a paint that is safe for use on the surface you are painting on.
Q: How long will it take me to paint a honeycomb?
A: The time it takes to paint a honeycomb depends on the size of the template or mold and the complexity of the design. It may take anywhere from 2-6 hours to complete a full honeycomb project.
Q: Can I use glue or other adhesives to hold my honeycomb together?
A: Yes, you can use glue or other adhesives to hold your honeycomb together if you are using cardboard or foam core as your template or mold. However, be sure to use a non-toxic adhesive to avoid any health risks.