how to make non woven bags
Non-woven bags have become increasingly popular due to their durability, eco-friendliness, and versatility. If you’re looking to create your own non-woven bags, this beginner’s guide will help you get started. In this article, we will discuss the materials and tools needed, the different types of non-woven bags, and the steps to make your own.
Materials and Tools Needed:
When it comes to choosing the material for your non-woven bag, there are several options available such as polypropylene, nylon, jute, or hemp. These materials are strong and durable, making them perfect for bags that need to withstand wear and tear. In addition to the material, you will also need a cutting mat, scissors, a rotary cutter (optional), sewing machine (optional), measuring tape, ruler, pencil, and needle and thread (for hand stitching only).
Types of Non-Woven Bags:
Non-woven bags come in different types and sizes. Some common types include tote bags, shopping bags, produce bags, and gym bags. Tote bags are the most popular type of non-woven bag and are perfect for grocery shopping or as an everyday carry-on. Shopping bags are ideal for carrying heavy loads and can be made larger in size. Produce bags are smaller in size and are perfect for carrying fruits and vegetables. Gym bags are designed to hold gym equipment and other essentials.
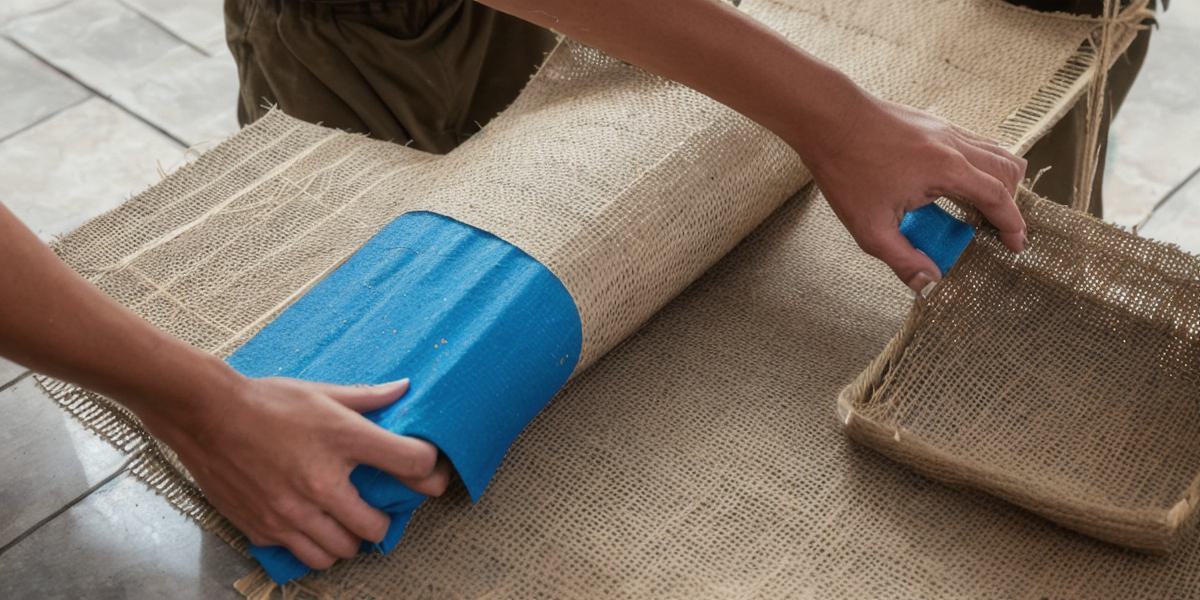
Steps to Make Non-Woven Bags:
Making a non-woven bag is a simple process that requires minimal sewing skills.
Here are the steps you need to follow:
- Cutting the Material: First, cut the material into the desired size using scissors or a rotary cutter. The size of the material will depend on the type of bag you’re making. For example, a shopping bag will require larger pieces of material than a produce bag.
- Folding the Material: Once you have cut the material, fold it along the short edges (optional). This will help to create a seamless edge and make the bag more structured.
- Sewing or Hand Stitching: Next, sew or hand stitch the two pieces of material together along the folded edges. You can use a sewing machine for this step, but if you don’t have one, a needle and thread will suffice. Make sure to leave an opening at the bottom of the bag for turning.
- Adding Handles: Once the bag is sewn closed, cut two pieces of material into loop shapes. Then, sew or hand stitch these handles onto the bag. You can choose to place the handles on either side of the bag or in the center.
- Finishing Touches: Finally, add any desired finishing touches such as a tag or logo. You can use fabric glue or a sewing machine to attach these elements to the bag.
FAQs:
Non-woven bags are made from materials that are not woven together, while woven bags are made from materials that are woven together. Non-woven bags are typically stronger and more durable than woven bags, making them ideal for carrying heavy loads.
Yes, other materials can be used to make non-woven bags such as bamboo and recycled plastic. These materials are eco-friendly and can add a unique touch to your bags.
The time it takes to make a non-woven bag depends on the type of bag and your level of experience. It can take anywhere from 30 minutes to several hours to make a non-woven bag, but with practice, you’ll be able to make them faster.
Making non-woven bags is a fun and rewarding DIY project that can be done with basic materials and tools. With the right guidance, you can create your own stylish and eco-friendly bags. Whether you’re looking to make a tote bag for grocery shopping or a gym bag for fitness enthusiasts, this beginner’s guide will help you get started.