How to Make and Trim Your Own Hats: A Step-by-Step Guide
Are you tired of spending money on hats that don’t fit properly or look right?
It’s time to learn how to make your own!
In this article, we will walk you through the steps to create and trim your own hats. We’ll start with the basics and guide you through the process of choosing the right materials, cutting them to size, and shaping them into a perfect fit.
First, let’s talk about materials. There are a variety of options available for making your own hats, including felt, straw, and even wood. Each material has its own advantages and disadvantages, so it’s important to choose the one that works best for you and your project.
Next, we’ll discuss the cutting process. Once you’ve chosen your material, it’s time to cut it to size. We recommend using a rotary cutter or scissors with a sharp blade to make clean cuts. It’s important to measure carefully and mark your fabric before cutting, as even small mistakes can add up.
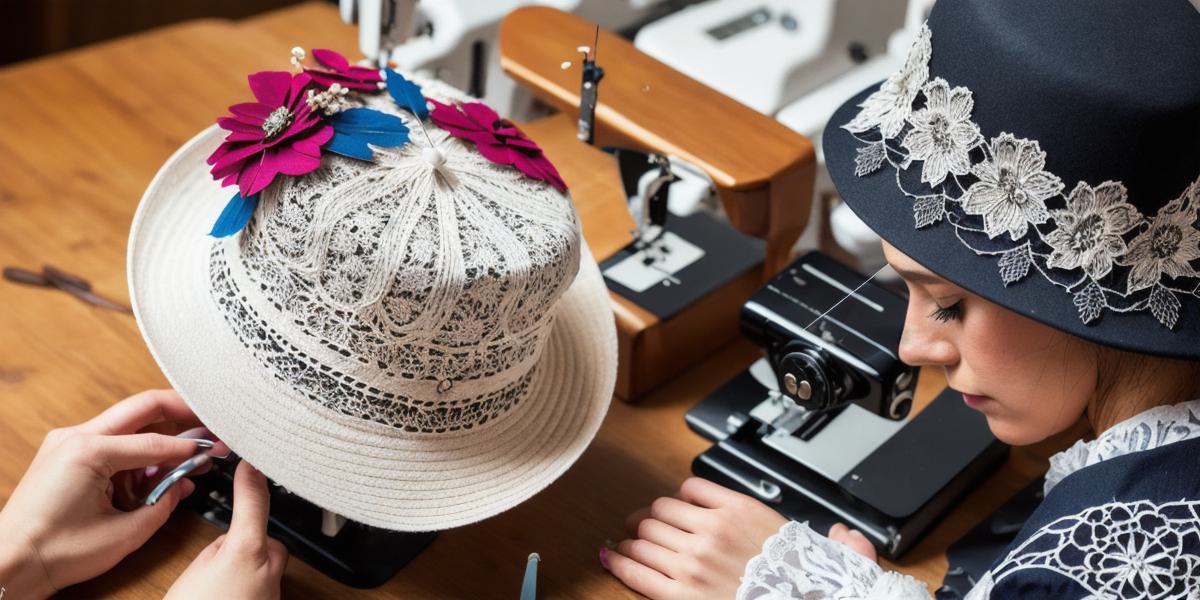
After cutting, we’ll move on to shaping. Depending on the type of hat you’re making, this may involve steaming, ironing, or even forming the fabric with your hands. The key is to be patient and work slowly, taking care not to stretch or crease your material.
Finally, it’s time to trim! This is where the real fun begins. With a sharp pair of scissors and some creativity, you can transform your basic hat into something truly unique and stylish. Whether you prefer clean lines or intricate patterns, the possibilities are endless.
To get started on your own hat-making journey, we recommend checking out some online tutorials or taking a class at your local fabric store. With a little bit of practice and patience, you’ll be well on your way to creating beautiful, one-of-a-kind hats that will impress all of your friends and family.