How to Make a Talking Stick: A Step-by-Step Guide
Have you ever wished that you could connect with people on a deeper level, and have them truly understand your message? Well, creating a talking stick could be the key to unlocking meaningful communication. In this article, we’ll explore what a talking stick is, why it’s important, and how you can create one yourself.
What is a Talking Stick?
A talking stick is a physical object that is used as a tool for communication. It can be made from a variety of materials, including wood, stone, or even fabric. The most important thing about a talking stick is that it gives the speaker the opportunity to communicate their message in a respectful and effective way.
Why is a Talking Stick Important?
There are several reasons why a talking stick is an important tool for communication. First and foremost, it helps to create a sense of safety and respect. When people are speaking through a talking stick, they feel as though they are being heard and understood. This can help to build trust and strengthen relationships.
Additionally, a talking stick can also help to clarify communication. By giving each person the opportunity to speak in turn, everyone can make sure that they understand what is being said. This can be particularly helpful in situations where there may be language barriers or other obstacles to communication.
How to Create a Talking Stick
Creating a talking stick is a simple process that requires just a few materials and some basic woodworking skills.
Here are the steps you can follow:
- Choose Your Materials: The first step in creating a talking stick is to choose your materials. You can use a variety of materials, including wood, stone, or even fabric. Just make sure that your materials are durable and will hold up well over time.
- Cut Your Stick: Once you’ve chosen your materials, it’s time to cut your stick. The length of the stick will depend on how many people will be using it for communication. As a general rule of thumb, a talking stick should be about 3-4 feet long.
- Sand and Smooth: Once you’ve cut your stick, it’s time to sand and smooth it out. This will help to ensure that the stick is comfortable to hold and that everyone can easily grasp it.
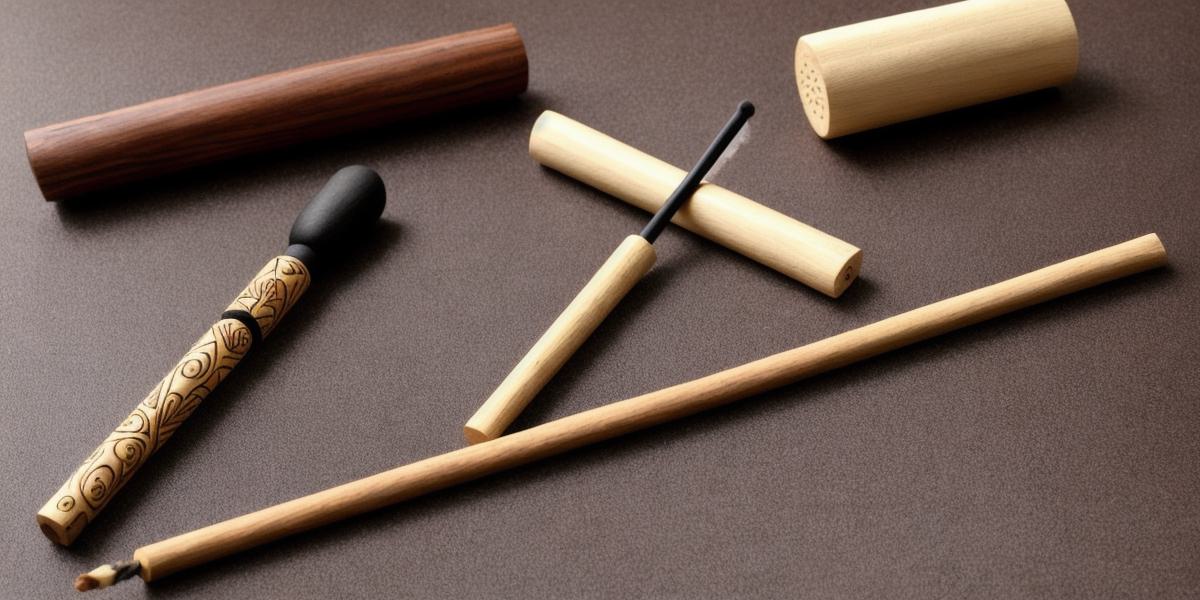
- Carve Your Design: The final step in creating a talking stick is to carve your design. You can choose any design that you like, as long as it’s meaningful and easy to understand. Some common designs include animals, symbols, or even words and phrases.
Using a Talking Stick for Communication
Now that you’ve created your talking stick, it’s time to put it to use.
Here are some tips for using a talking stick in your communication:
- Set Ground Rules: Before you start speaking through the talking stick, it’s important to set ground rules. This can include things like taking turns speaking, using respectful language, and listening actively to what others have to say.
- Start Speaking: Once everyone has agreed on the ground rules, it’s time to start speaking. The speaker should hold the talking stick while they speak, and everyone else should listen actively.
- Clarify Communication: If anyone doesn’t understand what is being said, they can ask for clarification by asking the speaker to repeat themselves or provide additional information.
- End Speaking: When someone has finished speaking, they should pass the talking stick to the next person. This helps to ensure that everyone has an equal opportunity to speak and be heard.