How to Make a Camel Puppet: A Step-by-Step Guide
Introduction:
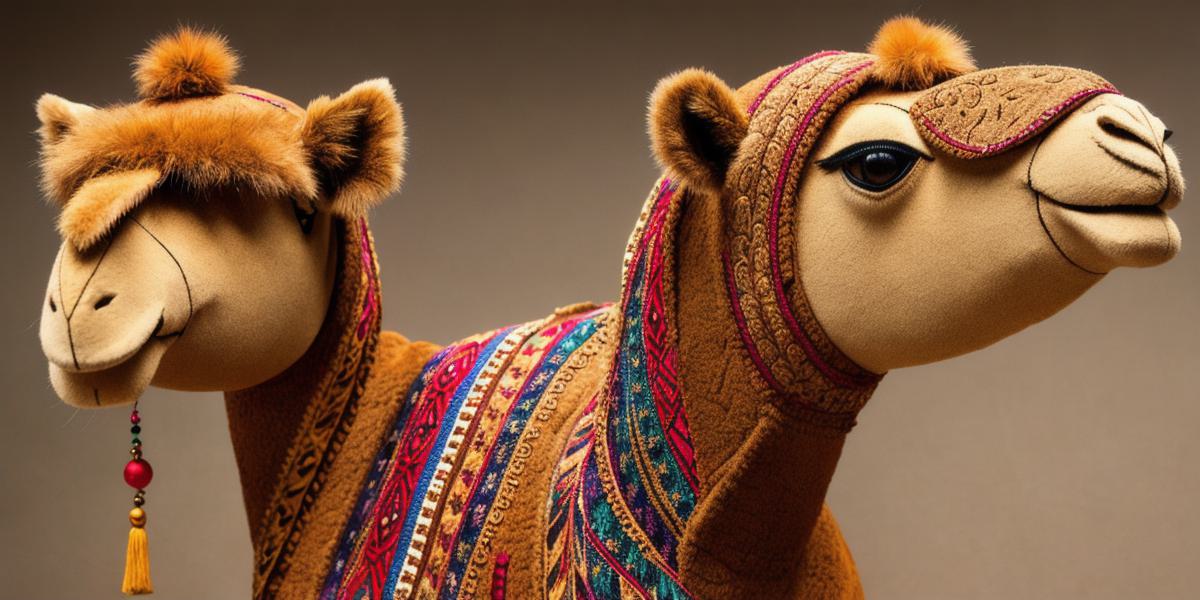
Camels have long been admired for their resilience and adaptability, making them fascinating creatures to learn about. One way to appreciate these majestic animals is by creating a camel puppet. In this article, we’ll take you through the process of making your own camel puppet, including materials needed, tools required, and step-by-step instructions on how to bring it to life.
Materials Needed:
Before we dive into the instructions, let’s first discuss the materials needed to create a camel puppet.
Here’s what you’ll need:
- Fabric (preferably soft and pliable)
- Scissors or fabric shears
- Pins or thumbtacks
- Stuffing (e.g., cotton, wool, or foam stuffing)
-
Thread
- Needle
- Velcro or a sewing needle
-
Fabric glue
- Beads or other embellishments (optional)
Tools Required:
Next, let’s discuss the tools you’ll need to create your camel puppet.
Here are some essential ones:
- Pattern for the camel body and head (available online or purchased from a craft store)
-
Pencil or marker
- Ruler or measuring tape
- Scissors or fabric shears
-
Fabric glue
gun or hot glue gun
- Sewing machine or sewing needle
-
Measuring cups and spoons
- Blunt object (e.g., a spoon)
Step-by-Step Instructions:
Now that you have all the materials and tools, let’s get started on creating your camel puppet! Follow these step-by-step instructions to bring your new friend to life:
- Cut out the camel body and head pattern from your chosen fabric or purchase it from a craft store. Make sure to trace the pattern onto the fabric using a pencil or marker.
- Using scissors or fabric shears, cut out the camel body and head patterns from the fabric.
- Lay the camel body and head patterns on the table and use pins or thumbtacks to pin them together along the seams. Be sure not to pin through the fabric.
- Stuff the camel body with cotton, wool, or foam stuffing, making sure to fill it up evenly. Use a needle or thread to tie off the stuffing.
- Sew the stuffed camel body together using a sewing machine or sewing needle. Make sure to leave an opening for stuffing and a small hole on the back of the head for stuffing and attaching the body to the head.
- Glue the camel head to the body, making sure the seam is smooth and evenly spaced. Allow the glue to dry before moving on to the next step.
- Once the glue has dried, thread a needle with thread and tie off the end. Insert the needle through the hole in the back of the camel’s head and weave it through the stuffing until you reach the body.
Thread
the needle through the same hole again and sew the head to the body.
- Attach beads or other embellishments to the camel’s neck or body, if desired. This step is optional but can add a touch of personality to your camel puppet.
- Once everything is sewn and glued together, test out your camel puppet by holding it up and moving its head and legs. If you need to make any adjustments, go back and make changes as necessary.
FAQs:
Q: Can I use any type of fabric for my camel puppet?
A: Yes, you can use any soft and pliable fabric such as cotton, wool, or felt for your camel puppet.
Q: Do I need to stuff my camel puppet with anything specific?
A: You can use cotton, wool, foam stuffing, or even sand for stuffing your camel puppet.