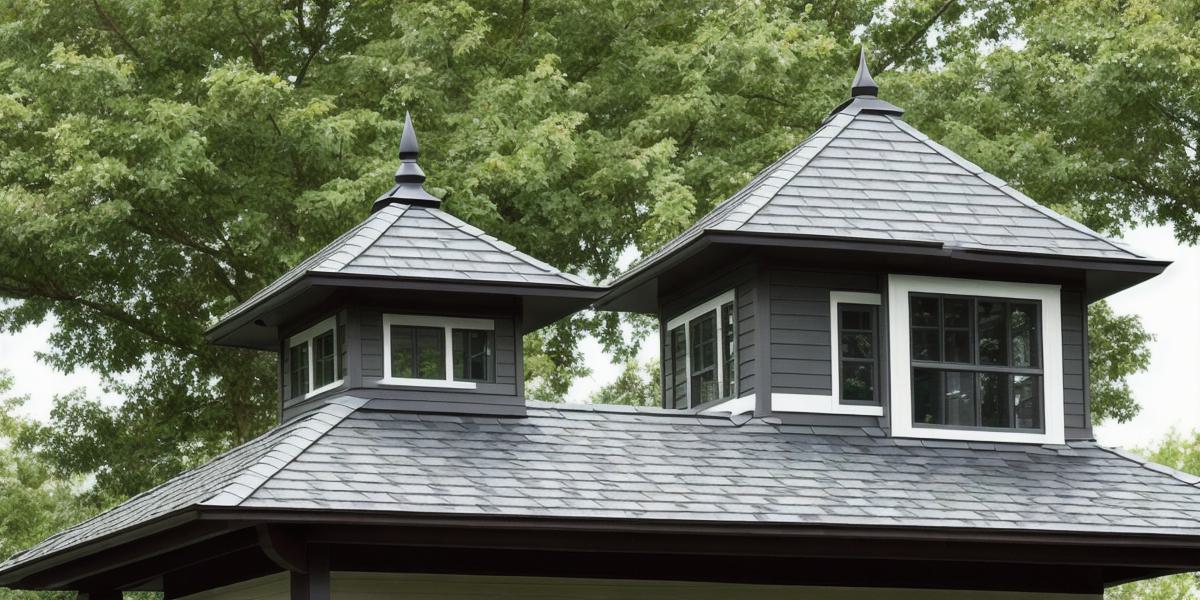
How to Install a Weathervane on a Cupola: A Step-by-Step Guide
If you’re looking for a unique way to add character and personality to your home or business, consider installing a weathervane on a cupola. Not only will it provide a fun and functional addition to your property, but it also has the potential to become an eye-catching focal point. However, installing a weathervane can be a daunting task if you’ve never done it before. In this guide, we’ll walk you through the process of installing a weathervane on a cupola step by step, including tips and tricks to make the process as smooth and successful as possible.
Step 1: Choose the Right Weathervane
The first step in installing a weathervane is to choose the right one for your property. There are many different types of weathervanes available, including traditional metal designs, whimsical animal figures, and even custom-made options. Consider the style and aesthetic of your home or business when choosing a weathervane, as well as its functionality. For example, if you live in an area with high winds, you may want to choose a weathervane that is designed to withstand strong gusts.
Step 2: Gather the Necessary Tools and Materials
Before you begin installing your weathervane, make sure you have all of the necessary tools and materials on hand. This may include a ladder, drill, screwdrivers, bolts, nuts, washers, and a level. You’ll also need a cupola and a weathervane mounting bracket, as well as any other hardware required for installation.
Step 3: Mount the Weathervane Bracket to the Cupola
The next step is to mount the weathervane bracket to the cupola. This can be done using a variety of methods, including screws and bolts. Make sure to use the appropriate hardware for your specific cupola and weathervane bracket. It’s also important to ensure that the bracket is securely fastened to the cupola to prevent any unwanted movement or damage.
Step 4: Attach the Weathervane to the Bracket
Once the bracket is mounted to the cupola, it’s time to attach the weathervane itself. This can be done using a variety of methods, including screws and bolts. Again, make sure to use the appropriate hardware for your specific weathervane and mounting bracket. It’s also important to ensure that the weathervane is securely fastened to the bracket to prevent any unwanted movement or damage.
Step 5: Install Any Additional Hardware Required
Depending on the specific design of your weathervane and mounting bracket, you may need to install additional hardware to ensure a secure installation. This may include washers, nuts, and bolts. It’s important to follow the manufacturer’s instructions carefully when installing any additional hardware to ensure that it is properly secured and doesn’t compromise the stability of your weathervane.
Step 6: Test the Weathervane
Once you’ve installed your weathervane, it’s important to test it out to make sure it’s functioning properly. This may involve moving the weathervane by hand or using a wind simulator to see if it moves in response to gusts of wind. It’s also important to ensure that the weathervane is level and that it doesn’t appear to be wobbling or swaying.
FAQs
1.