how to etch silver
Silver etching is a popular art form that involves using acid to create intricate designs on the surface of silver. This technique has been used for centuries by artists and craftsmen to add unique details to jewelry, silverware, and other decorative items. In this guide, we will explore the basics of silver etching, including the tools, materials, techniques, common mistakes to avoid, and frequently asked questions.
Tools Needed
Before starting etching silver, it’s essential to gather all necessary tools:
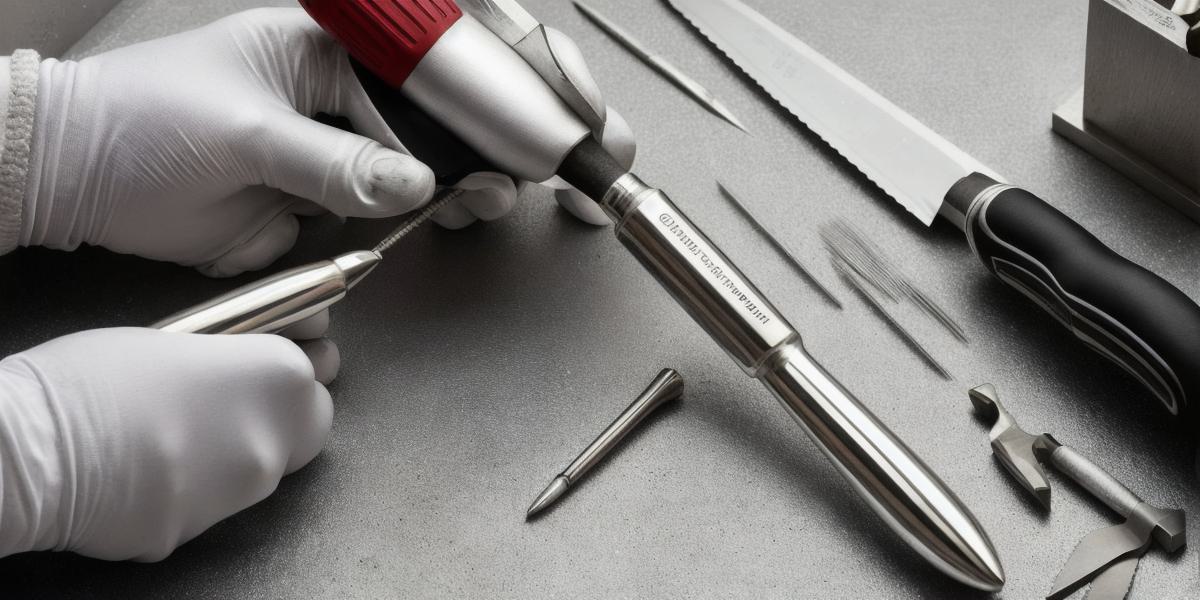
- Etching tool – burin, needle, or any other sharp object that can make incisions in silver. Burins are the most commonly used etching tool for silver as they create clean lines and angles. Needles can also be used to create fine details but may not produce the same level of precision as burins.
- Tape measure – used to measure distances between markings. This tool helps you ensure that your design is symmetrical and evenly spaced.
- Compass – used to create circles and arcs. The compass can be adjusted to create different radii and shapes, making it an essential tool for creating complex designs.
- Pencil – used to draw designs on the silver surface. A soft graphite pencil works best for drawing fine details and lines, while a hard lead pencil is better for creating bold strokes and outlines.
- Scouring pads or toothbrush – for removing tarnish or oxidation from the silver surface. Before etching, it’s crucial to clean the silver thoroughly to ensure that the acid can penetrate the surface evenly.
- Acid bath – a mixture of water and acid that etches the silver. You can use hydrochloric, nitric, or any other strong acid that will dissolve silver. It’s essential to wear safety glasses and gloves when handling acid to prevent injury.
- Timer – to keep track of time in the acid bath. Depending on the strength and concentration of your acid bath, you may need to adjust the length of time your silver spends in the bath.
Materials Needed
Silver is the most commonly used material for etching, and you can use any type such as silverware, jewelry, or scrap metal. When choosing your silver, consider thickness, finish, cleanliness, and tarnish/oxidation. Thicker and brighter silver will produce deeper and more detailed etchings than thinner or duller silver. It’s also essential to choose a high-quality silver that won’t corrode or tarnish easily.
Techniques for Etching Silver
There are several techniques to etch silver, including burin etching, needle etching, electrolysis etching, and chemical etching. Each method has its advantages and disadvantages, depending on skill level, tools used, and desired outcome. Burin etching is the most traditional and commonly used technique. It involves holding the burin at a 45-degree angle to the silver surface and making shallow incisions to mark your design. Needle etching uses a needle to create fine details and lines, while electrolysis etching involves using an electric current to dissolve the silver. Chemical etching uses acid to dissolve the silver, and this technique is ideal for creating detailed patterns and designs.
Common Mistakes to Avoid
Over-etching, under-etching, and uneven etching are common mistakes in silver etching. To avoid these, be mindful of the strength and concentration of your acid bath, time spent in the bath, and depth and detail of your designs. Over-etching can result in a dull or damaged surface, while under-etching can leave your design incomplete. Uneven etching can occur if you don’t hold the burin or needle at a consistent angle or if you don’t mark your design evenly.
FAQs
- Can I use any type of acid to etch silver? Yes, hydrochloric or nitric acids work well, but avoid using chlorine bleach as it can damage the silver.
- How long should my silver be in the acid bath? The length of time will depend on the desired depth and detail of your etchings. A few minutes to several hours may be needed.