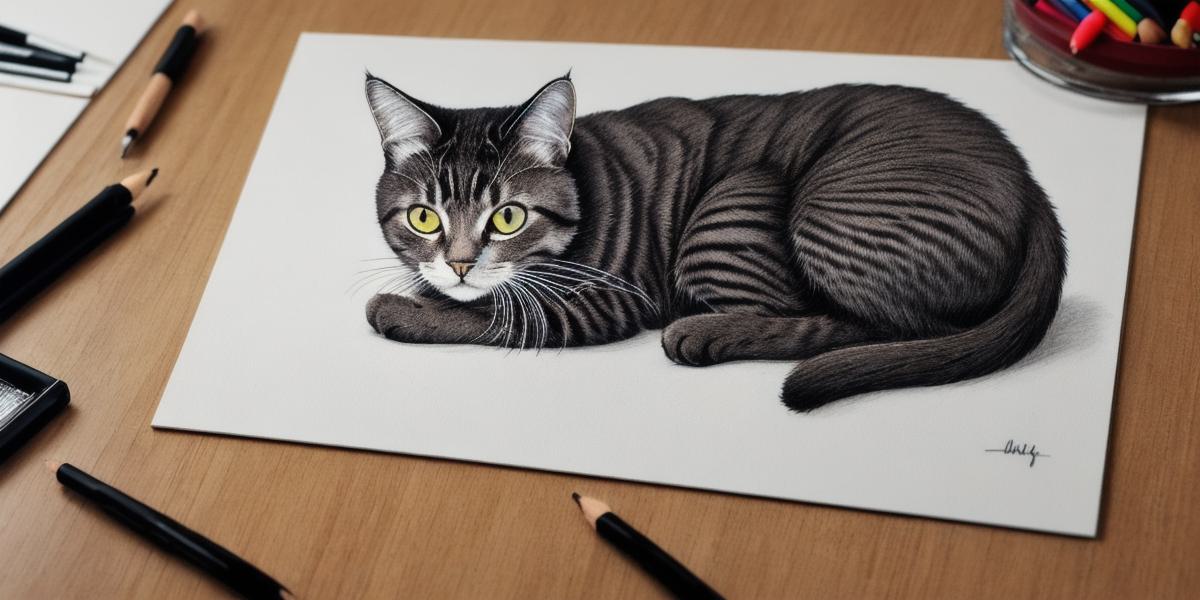
How to Draw a Cat: The Ultimate Guide for Beginners
Drawing a cat can be a fun and rewarding activity, but it can also be challenging for beginners. However, with some simple tips and tricks, anyone can learn how to draw a cat that looks realistic and expressive. In this article, we will take you through the step-by-step process of drawing a cat from scratch, so get ready to unleash your creativity!
Step 1: Gather Your Materials
Before you start drawing, make sure you have all the necessary materials on hand.
You will need:
-
A blank piece of paper or sketchbook
- Pencils or charcoal sticks (soft and hard)
- Kneaded eraser
- Blending stumps or tortillons
- White charcoal pencil or white pastel pencil (optional)
- Fixative spray or clear varnish to protect your finished piece
Step 2: Sketch the Basic Shape
The first step in drawing a cat is to sketch out its basic shape. Using a light touch, draw an oval for the head and body, and two smaller ovals for the ears. Add some straight lines to represent the whiskers and use a soft pencil to lightly fill in the eyes with white charcoal or pastel pencil.
Step 3: Add Details
Once you have sketched out the basic shape, it’s time to add more details to make your cat look more realistic. Start by drawing some lines on the head and body to represent the fur texture. Use a hard pencil for these lines, as they will be more visible.
Next, add some whiskers to your cat’s face using a soft pencil. Make sure to pay attention to the direction of the whiskers and how they are curled at the ends. You can also use a blending stump or tortillon to blend in some shading on the ears and around the eyes to give your cat a more realistic look.
Step 4: Shade and Blend
Shading and blending are key techniques when drawing cats. Use a soft pencil to gently blend in shades of gray around the body, head, and ears. Pay attention to the direction of the light source, as this will affect how the shadows and highlights appear on your cat’s fur.
To create a more realistic look, you can also use a blending stump or tortillon to blend in some highlights and reflections on the fur. This will give your cat a glossy, three-dimensional appearance that will make it stand out from other drawings.
Step 5: Add Final Touches
Once you have finished shading and blending, it’s time to add some final touches to your cat drawing. You can use a hard pencil or charcoal stick to add some details such as the claws on the paws, the texture of the fur on the ears, and any other unique features that your cat may have.
Remember to take your time and enjoy the process of drawing your cat. With practice, you will become more skilled at creating realistic and expressive drawings that capture the personality of your furry friend.
FAQs
Q: What kind of pencils should I use for drawing a cat?
A: For drawing a cat, you can use both soft and hard pencils. Soft pencils are great for creating shading and blending, while hard pencils are perfect for adding fine details and textures to your drawing.
