How to Change Brake Pads on a Cadillac Escalade: A Step-by-Step Guide
If you’re looking to save money and keep your Cadillac Escalade running smoothly, it’s time to change those brake pads. Here’s a step-by-step guide on how to do it yourself, with tips from experts in the field.
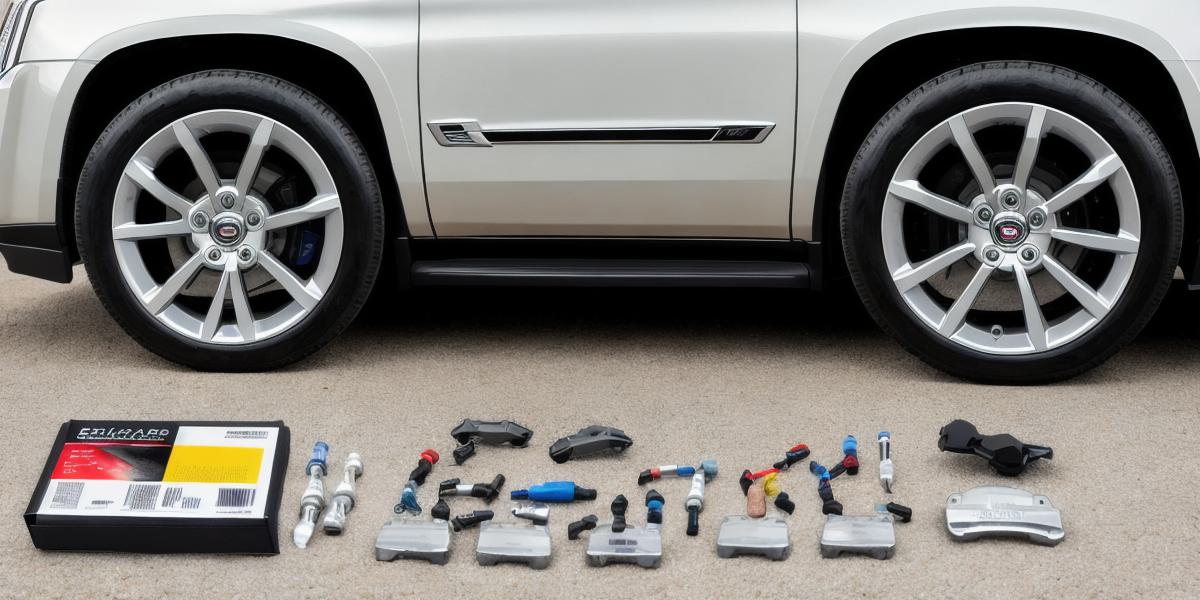
- Gather your tools: Before you start, make sure you have all the necessary tools on hand. This includes wrench sets, socket wrenches, brake bleeding tools, and gloves to protect your hands.
- Remove the wheels: To make the job easier, start by removing the wheels from the vehicle. This will give you more space and access to the brake pads.
- Access the brakes: Once the wheels are removed, locate the brake rotors. You’ll need to remove these to get to the brake pads. Use a socket wrench to loosen the bolts holding the rotor in place, then carefully lift it out of the way.
- Remove the old brake pads: With the rotor removed, you can now take off the old brake pads. Be sure to wear gloves and use a brake bleeding tool to ensure that there are no leaks during the process.
- Install the new brake pads: Once you’ve taken off the old pads, carefully place the new ones in their respective slots. Make sure they’re installed correctly and securely.
- Bleed the brakes: After installing the new brake pads, it’s time to bleed the brakes. This is a crucial step that ensures your vehicle’s braking system is functioning properly. Use a brake bleeding tool to follow the instructions carefully and avoid any mistakes.
- Put everything back in place: Once the brakes are bled, put everything back in its proper place. Replace the rotor, then tighten the bolts that hold it in place. Finally, put the wheels back on the vehicle and you’re good to go!
Remember, changing brake pads is a simple task that can save you money and keep your Cadillac Escalade running smoothly. By following these steps carefully and using the right tools, you can complete the job in no time.