Bending Balsa Wood: A Step-by-Step Guide for DIYers and Artisans
Bending balsa wood is a creative process that allows you to create unique shapes and designs. Whether you’re an experienced DIYer or just starting out, this step-by-step guide will help you learn how to bend balsa wood effectively and safely. In this article, we’ll explore the basic principles of bending balsa wood and provide a step-by-step guide on how to bend it safely and effectively.
Principles of Bending Balsa Wood
Before you begin, keep these basic principles in mind:
- Bending force: Apply the right amount of force to create a consistent and even bend. The amount of force needed will depend on the type of balsa wood you’re using and the desired bend. It’s important to avoid over-bending, as this can cause the wood to split or break.
- Gradual bends: Avoid sudden jerking or pulling that can cause the wood to split or break. Instead, apply pressure gradually and evenly to create a consistent curve. This will require patience and attention to detail.
- Temperature control: Keep the wood at a moderate moisture level for best results. Balsa wood is a porous material, so it’s important to maintain moisture levels during the bending process to prevent warping or cracking. You can achieve this by keeping the wood in a humid environment or using a moisture-retaining product like wax or polyurethane.
- Pressure points: Use specific pressure points to create the desired bend, such as clamps, jigs, or molds. These tools will help guide the bend and ensure consistency. It’s important to choose the right pressure points for your project and apply pressure evenly across them.
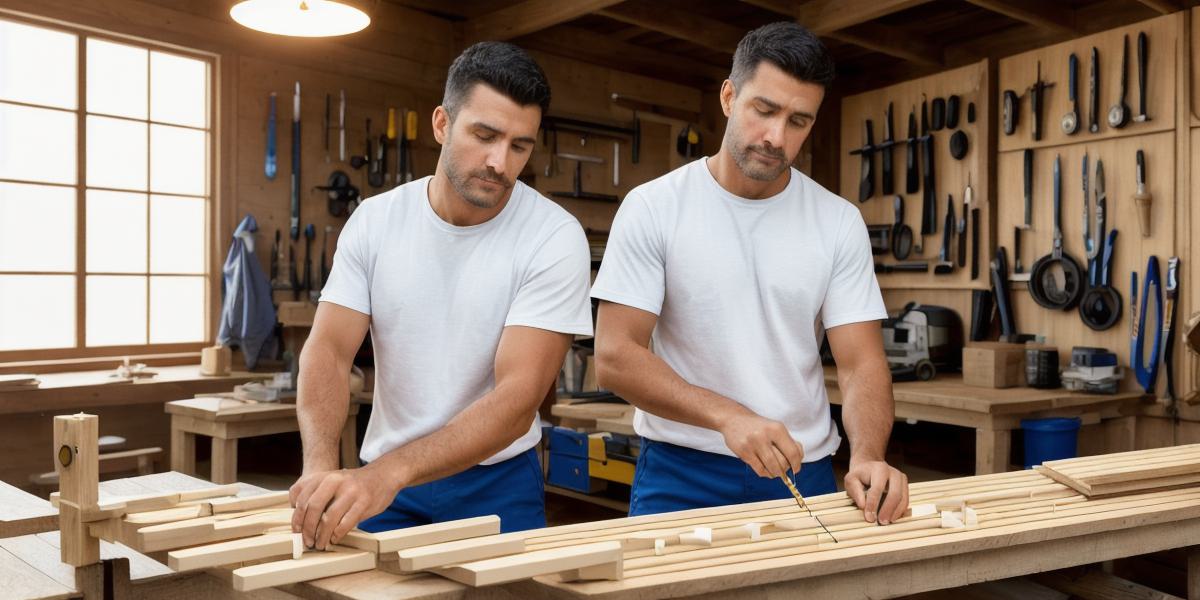
Step-by-Step Guide to Bending Balsa Wood
Follow these steps to bend balsa wood effectively and safely:
**Step 1: Selecting the Right Type of Balsa Wood**
Choose a type of balsa wood that is appropriate for your project, such as Plywood or Exotic Hardwood. Consider density and grain pattern when selecting your wood. Plywood is a good choice if you’re new to bending because it’s lightweight and easy to work with. Exotic hardwoods are denser and more durable but may require additional support during the bending process.
**Step 2: Preparing the Wood for Bending**
Cut and sand the balsa wood to create a smooth surface for bending. Avoid sanding too deeply, as this can weaken the wood. Use a fine-grit sandpaper, such as 220 or higher, to achieve a smooth finish without damaging the wood.
**Step 3: Creating Pressure Points**
Use clamps, jigs, or molds to create pressure points on the balsa wood. These points will help guide the bend and ensure consistency. Clamps are simple and easy to use but may require additional support during the bending process. Jigs and molds provide more control over the bend and can be used to create specific shapes.
**Step 4: Applying Pressure**
Apply pressure gradually and evenly to the pressure points, using a soft tool like a rubber mallet or heat gun. Maintain consistent pressure throughout the process. Start with light pressure and increase it as needed. Use a thermometer to monitor the wood’s temperature and avoid overheating, which can cause the wood to warp or crack.
**Step 5: Finishing Touches**
Sand and stain or paint your finished balsa wood project for a smooth finish. Use a fine-grit sandpaper to remove any rough spots and apply a protective coating like polyurethane to seal the wood. You can also add decorative elements like engravings, carvings, or paint to enhance the appearance of your project.
Summary
Bending balsa wood is a rewarding creative process that allows you to create unique shapes and designs. By following these principles and steps, you can bend balsa wood safely and effectively. Remember to choose the right type of wood for your project, prepare it properly, use pressure points wisely, apply pressure evenly, and finish with care. With practice and patience, you’ll be able to create beautiful and functional projects from balsa wood.