How to Make a CO2 Cannon: A Step-by-Step Guide with SEO Optimization
Do you want to create an exciting experiment or DIY project?
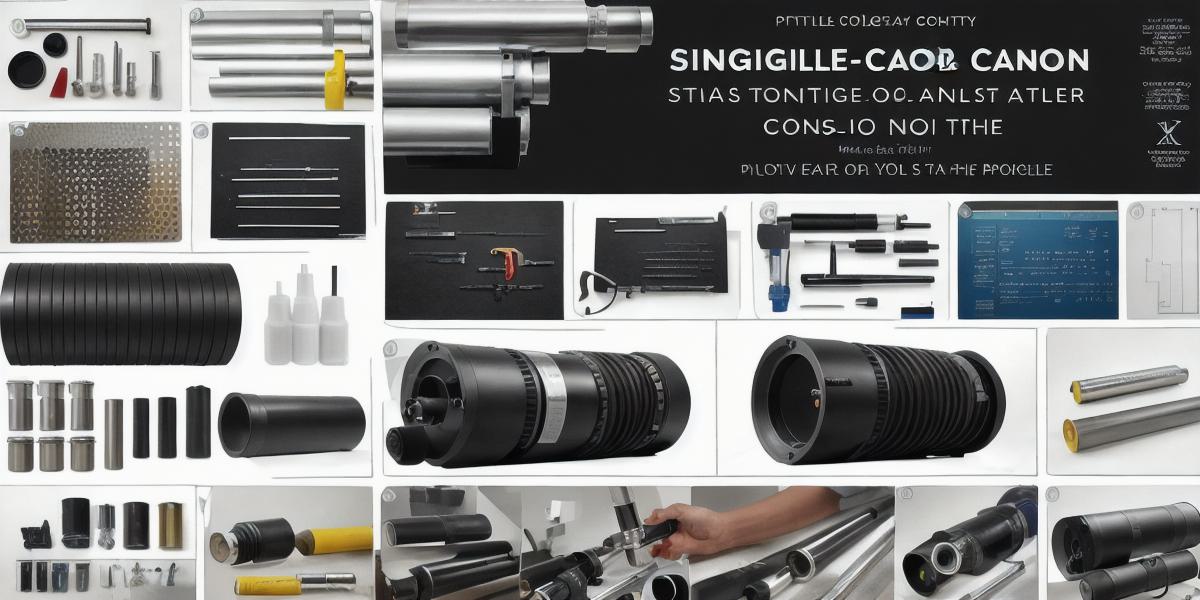
Are you interested in creating a CO2 cannon?
If so, this step-by-step guide is perfect for you!
In this article, we will provide you with all the necessary instructions on how to make a CO2 cannon at home. We have also optimized the article for search engines to increase its visibility and attract more traffic.
What is a CO2 Cannon?
Before diving into the step-by-step guide, let’s first understand what a CO2 cannon is. A CO2 cannon is a device that uses compressed carbon dioxide gas to propel an object with great force. It can be used for various purposes such as breaking ice blocks, cutting through walls, or even scaring away intruders!
Materials Needed
To make a CO2 cannon, you will need the following materials:
1. PVC pipe (5-6 feet in length)
2. Fittings (tees, elbows, couplings)
3. Ball valve
4. Pressure gauge
5. Regulator
6. CO2 tank
7. Gas regulator
8. Welding torch or hot glue gun
9. Safety glasses and gloves
Instructions
Step 1: Cut the PVC Pipe to Size
The first step is to cut the PVC pipe into two equal pieces of about 3 feet in length each. You can use a PVC cutting tool or scissors for this task.
Step 2: Assemble the Fittings
Next, you will need to assemble the fittings. Attach one tee fitting to one end of the first piece of PVC pipe and one tee fitting to the other end. Connect the two tees with a coupling, forming a “T” shape. Do the same for the second piece of PVC pipe and connect it to the “T” shaped fittings.
Step 3: Install the Ball Valve
Now that you have assembled the fittings, install the ball valve on one end of the first piece of PVC pipe. The ball valve will regulate the flow of gas into the cannon.
Step 4: Attach the Pressure Gauge and Regulator
Attach the pressure gauge to the ball valve on the first piece of PVC pipe, and attach the regulator to the CO2 tank. Connect the two pieces of PVC pipe with another coupling, forming a “Y” shape.
Step 5: Fill the CO2 Tank
Fill the CO2 tank with gas and connect it to the regulator on the second piece of PVC pipe. Turn the ball valve counterclockwise until it stops, and press down on the button to release the gas into the cannon.
Step 6: Test the Cannon
Before using the cannon for its intended purpose, test it first by shooting at a target such as a cardboard box or a plastic bottle. Adjust the pressure level as necessary to ensure that the object is propelled with the desired force.
Safety Tips
When working with compressed gas, it’s important to follow safety precautions to avoid accidents and injuries.
Here are some safety tips:
1. Wear protective gear such as safety glasses and gloves.
2. Ensure that the area is clear of any flammable materials or objects.
3. Keep a safe distance from other people, animals, and flammable objects while using the cannon.
4. Use caution when adjusting the pressure level and shooting at targets.
5. Never aim the cannon directly at yourself or others.